Hundred-inch
Hooker Cassegrain at Mount Wilson Review
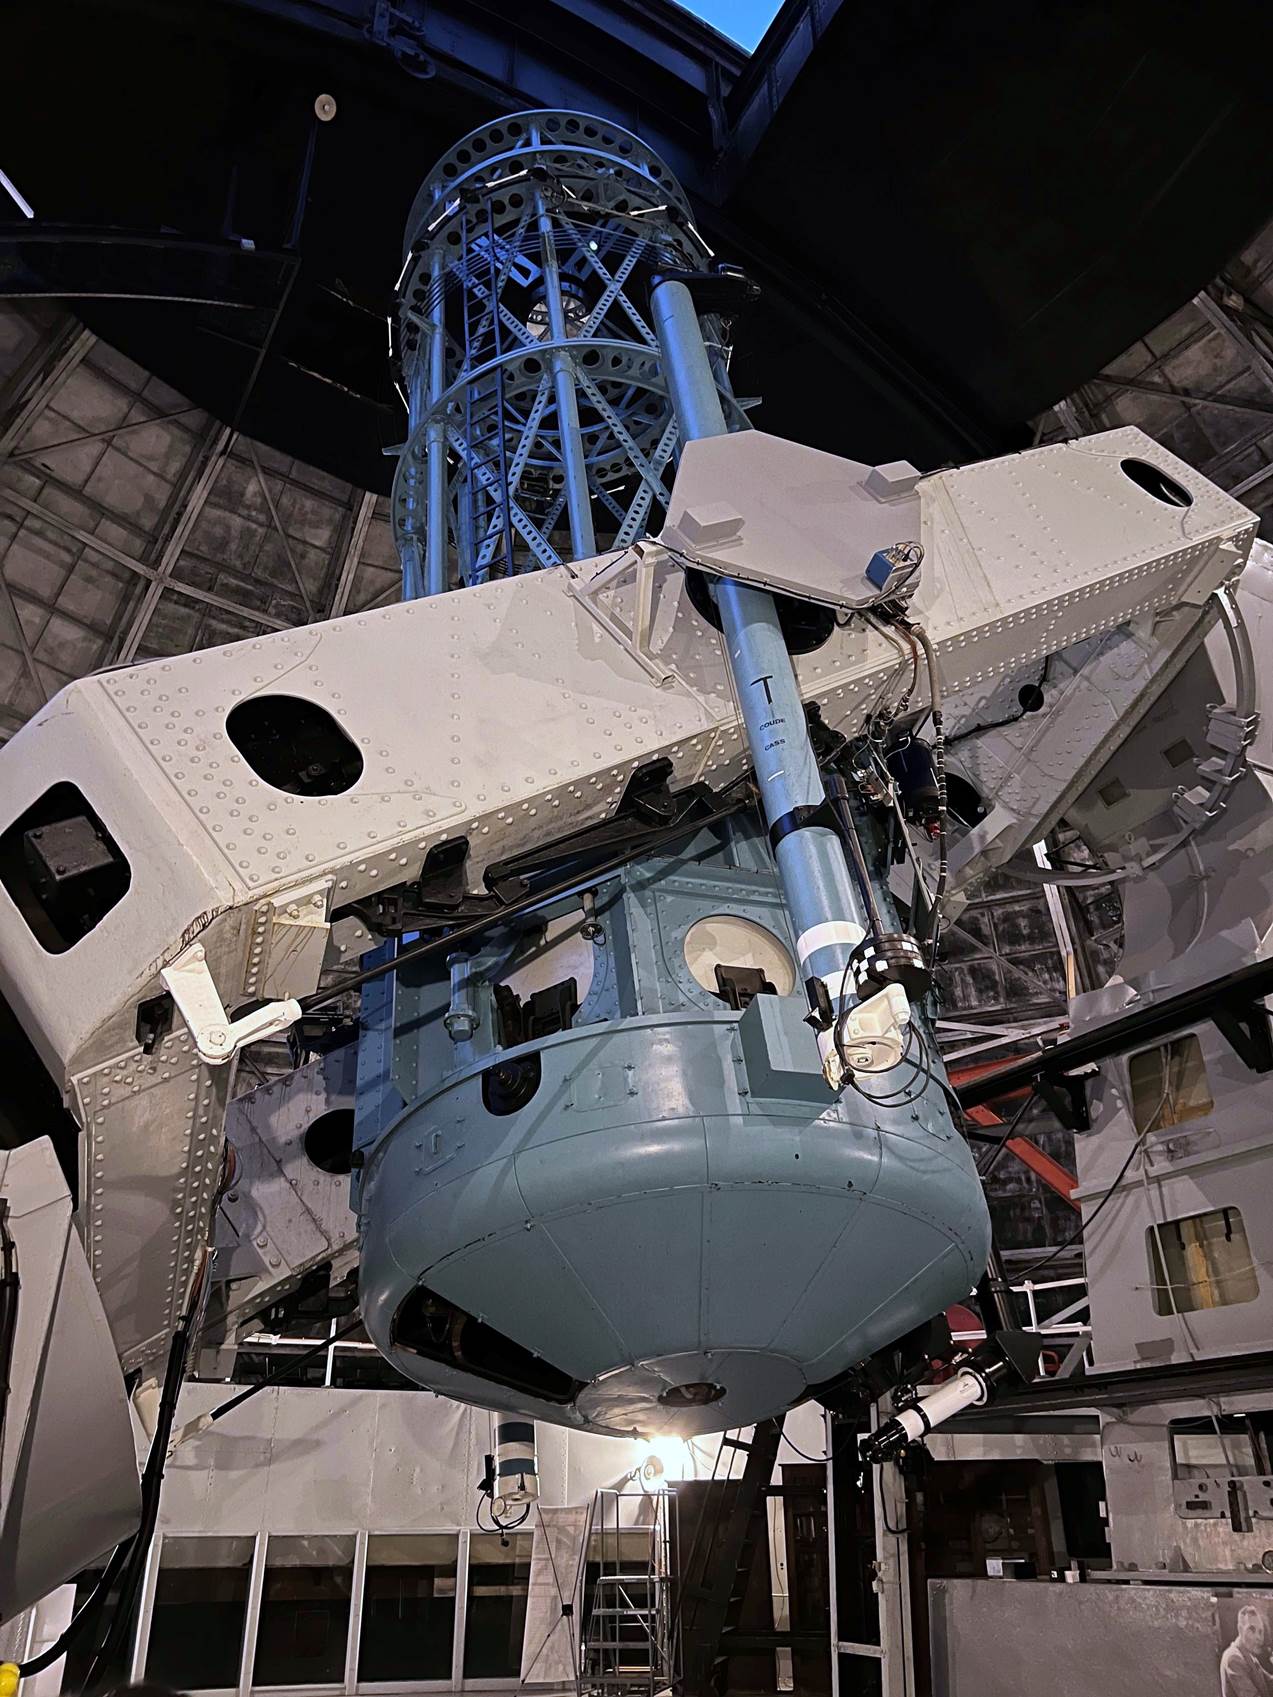
What’s the largest telescope you
can look through? Big pro’ telescopes are rarely used visually and then
only for one-off events that you and I won’t be attending. The reason, of
course, is that modern professional telescopes are fitted with instrument
packages, not eyepieces; and time on them is booked solid for years with
research.
McDonald observatory offer occasional
tours of their 107” (you can read about my experience here), but they typically view just a
single object due to limitations in the way viewing is configured.
Various older observatory telescopes
are available for viewing, though – mostly from the era when professional
astronomy was done visually. By far the largest to offer a full
viewing session is the century-old and hugely famous 100” at Mount
Wilson. For the metrically modern, 100” is 2.5m: not large by modern
professional standards, but absolutely ginormous compared to anything
you’ll find in your local camera shop or star party. A viewing session is
interesting historically too – this telescope was used for much seminal
research, including by Edwin Hubble.
I’d previously enjoyed my best
astronomy night ever on the 60” Hale reflector at Mount Wilson, so
I’d long wanted to try the 100”. Trouble is, until recently that
meant outlaying thousands for a private session. Then I spotted a few public
viewing nights announced on Twitter and I managed to book on one: this review
is the result.
History
The 100” is probably the most
famous telescope in the World and was for thirty years the largest, so
I’ll take a quick look at its history.
In 1906, a local businessman named John
Hooker offered his friend George Ellery Hale funds to build a bigger telescope,
even before the Hale 60” at Mount Wilson (then the World’s largest
and reviewed by me here) was finished. Hooker pledged $45,000
dollars of the expected $500,000 (most of the rest was provided by Andrew
Carnegie) and the 100” plate glass mirror blank was ordered on September
19th of that year.
Casting of the mirror blank by St
Gobain (see below) was hugely problematic: multiple attempts were made; letters
were exchanged; Hale had a nervous breakdown. Consequently, the mirror
wasn’t finished until ten years after the initial order.
Meanwhile, the huge yoke mount was
built in Massachusetts, the hundred-foot dome in Chicago.
First light, recorded in a log entry at
the observatory, was on November 2nd 1917. Present were Georges Hale
and Ritchey (chief optician), along with the great and good from the
observatory and – surprisingly – the English poet Alfred Noyes!
First views of Jupiter gave multiple
images. But this proved to be because the dome had been left open allowing
sunlight to fall on the mirror, distorting its figure. After a long period to
cool, it gave its first excellent images of a star and Ritchey’s
long-held fears about the usability of the mirror blank were dispelled.
The 100” was subsequently used to
make many of the great discoveries in astronomy of the 20th century,
mostly thanks to an unlikely astronomical team – a former lawyer and
boxer named Edwin Hubble, working with his assistant Milton Humason, who
started out at the observatory as a mule driver.
In the 1920s, Hubble proved that spiral
nebulae were external galaxies by using cepheid variables to measure the
distance to the Andromeda galaxy for the first time. Hale later went on to use
spectroscopy to discover that the red shift of galaxies increases with
distance, demonstrating the expansion of the universe.
The 100” went on to make other
major discoveries through the 1930s and 1940s, by leading figures such as
Walter Baade and Fritz Zwicky. It was only usurped as the world’s largest
telescope by the 200” at Mount Palomar in 1949.
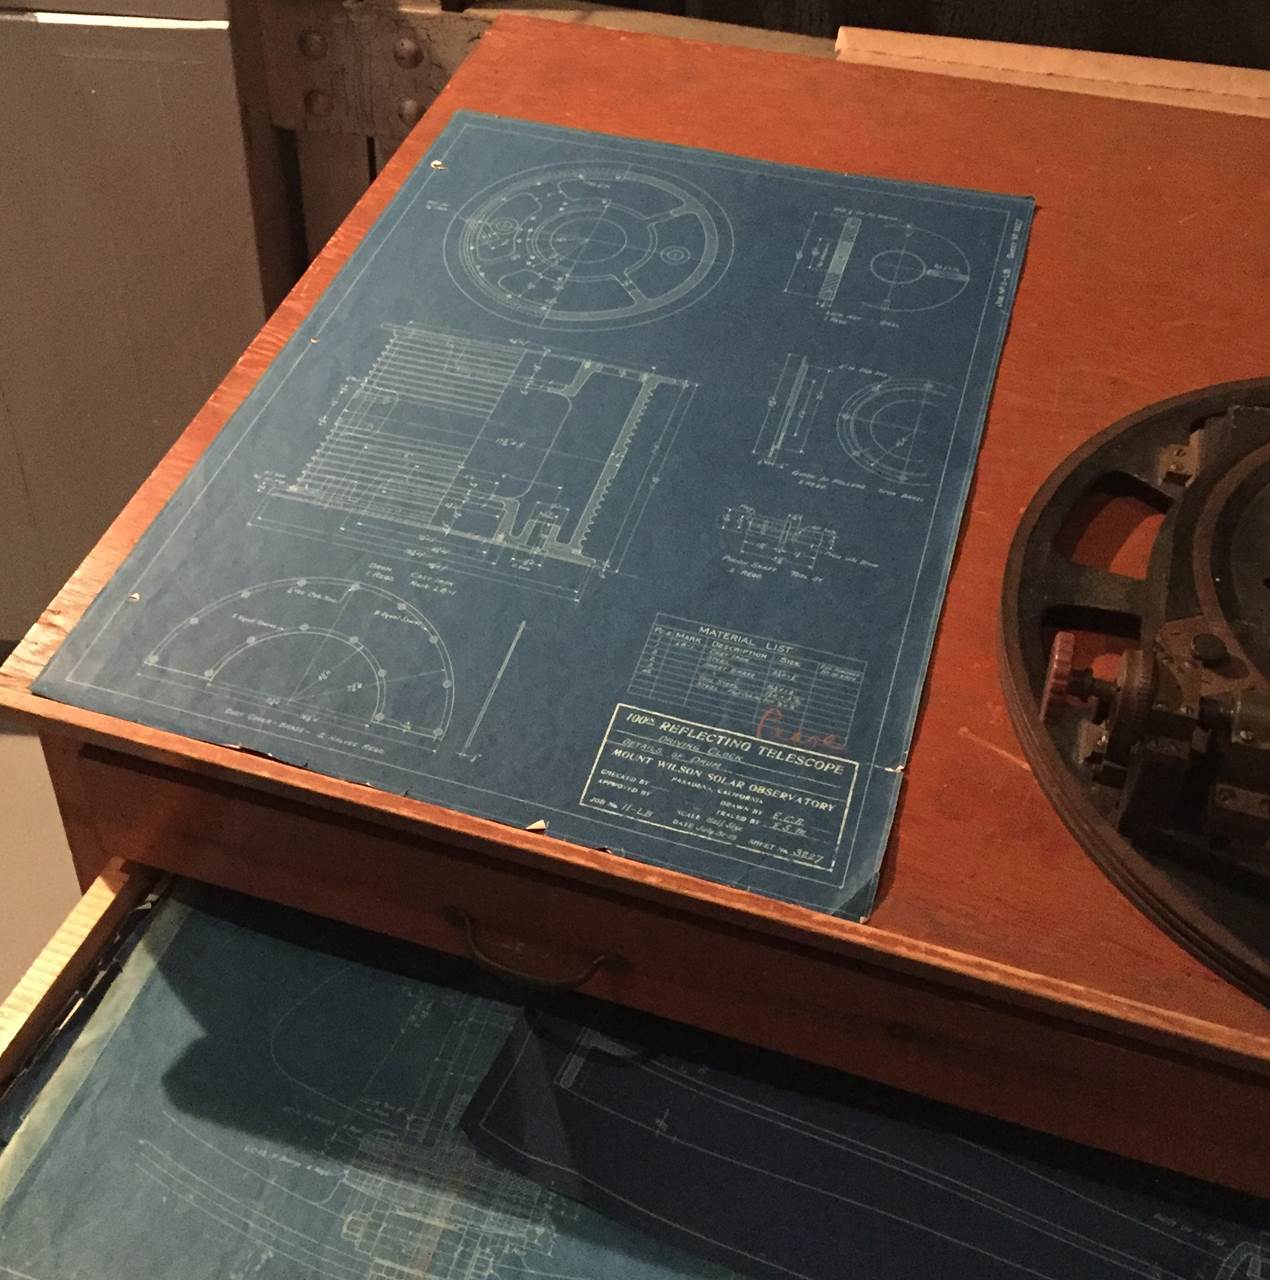
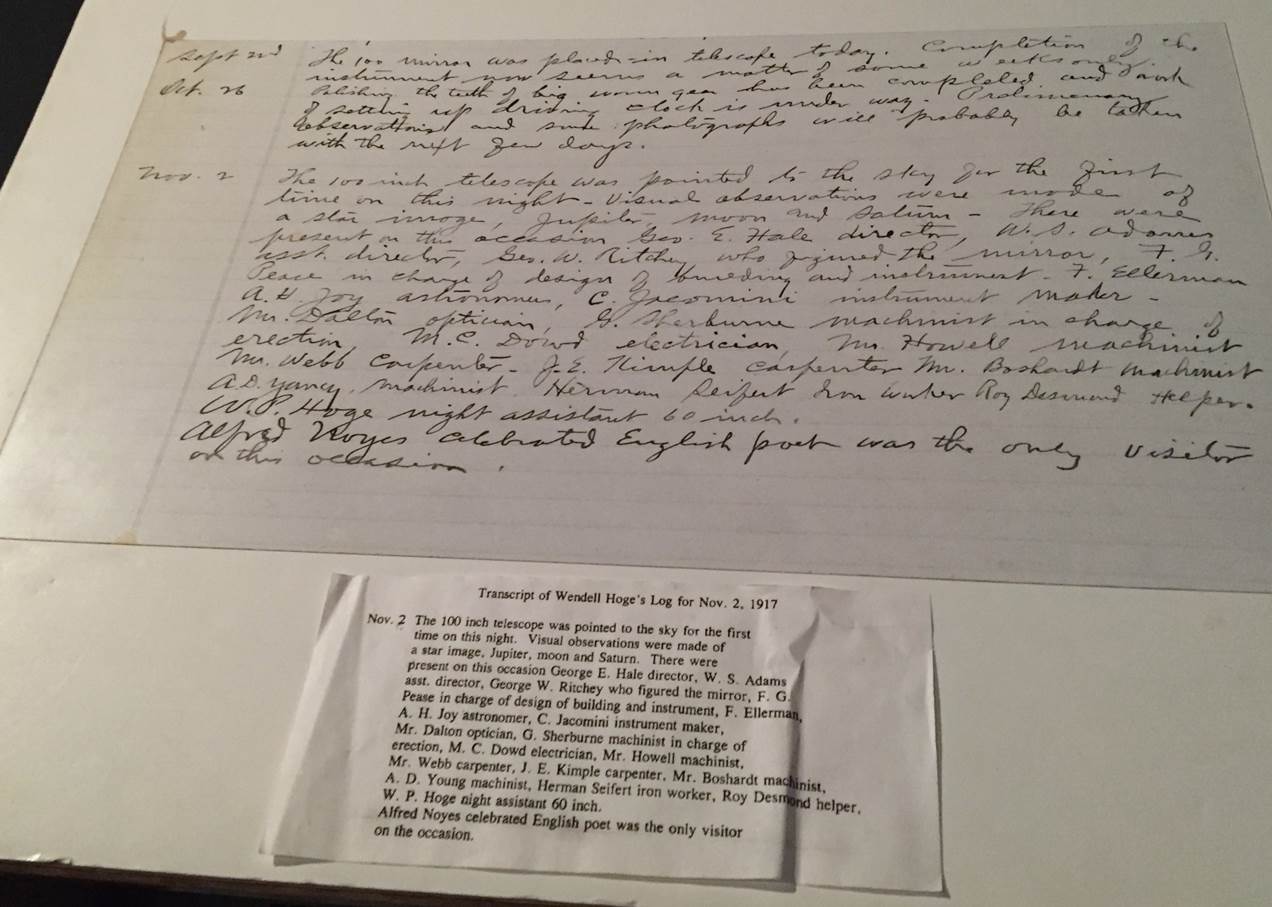
Plans and other historical documents
for the 100” are stored on the mezzanine level.
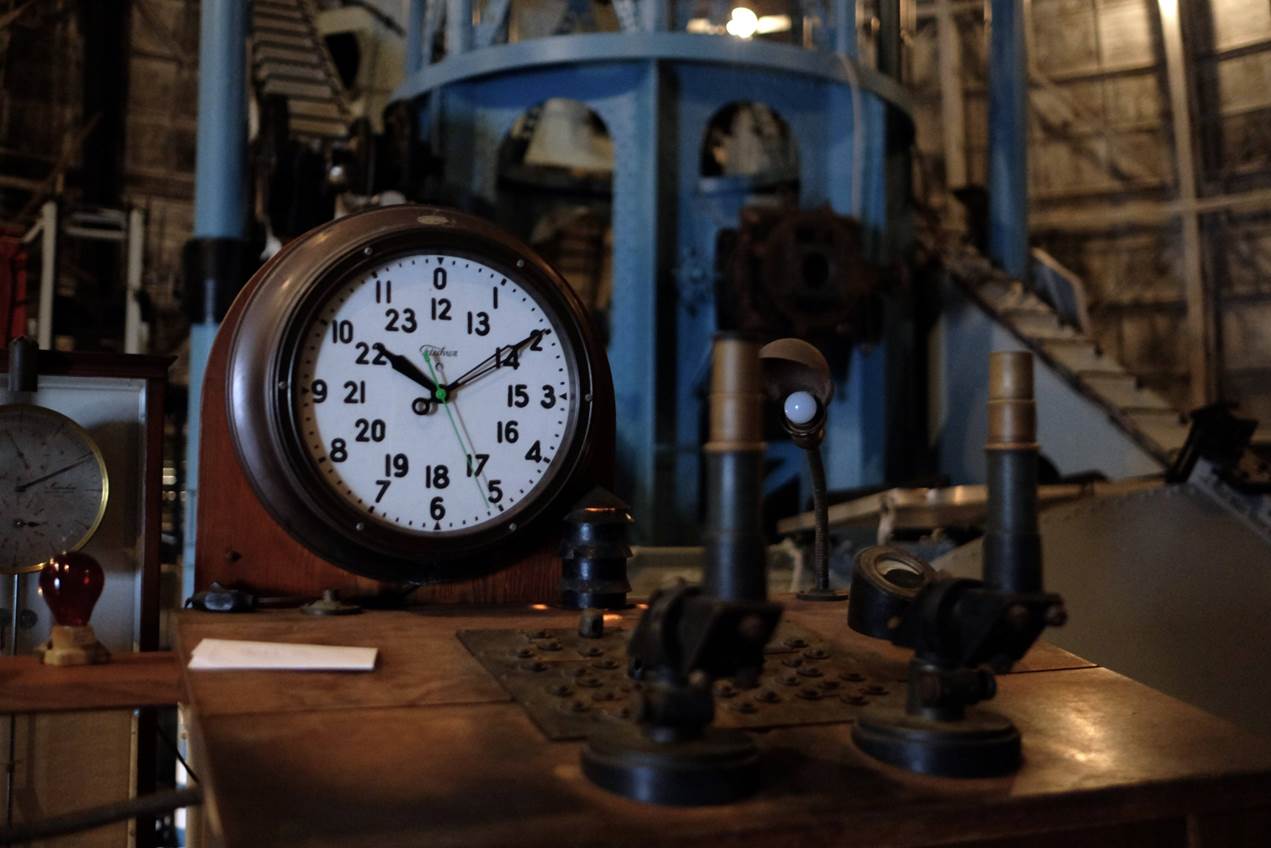
Historic controls.
At
A Glance
|
Telescope |
100”
Hooker Cassegrain |
|
Aperture |
100”
(2.5m) |
|
Focal
Length |
32m in
current configuration |
|
Focal
Ratio |
F12.8 with
reducer (F16 Cassegrain) |
|
Weight |
~ 100 tons |
Data from Mt Wilson.
Design
and Build
Optics
– main mirror
The
100” mirror is solid plate glass, twelve inches thick at the edge and
weighing 4.5 tons. It was cast on December 31st 1907 by the St
Gobain glass company in northern France which had been making domestic mirrors
since the late 17th century, including the ones for the Hall of
Mirrors at Versailles. The mirror has a bottle-green hue that is readily seen
with a torch (see photo). Legend says it’s Champagne bottle glass and
given the proximity of St Gobain to the Champagne region it just might be!
The mirror
was cast in three layers: the lower ones have lots of bubbles, swirls and
inclusions visible in torchlight from below, but the top layer is mostly bubble
free. On arrival in Pasadena in December 1908, the mirror blank was initially
rejected due to the imperfections. St Gobain tried several times to cast a
better one over several years, but one broke and another was too thin to be
rigid.
In
desperation, the opticians decided to use the original blank, though the master
optician – George Ritchey – feared it wouldn’t take the
required quality of figure. They eventually discovered that with carefully
designed supports the mirror was usable and they finally accepted it on March 4th
1913, seemingly paying St Gobain just $5000.
The grinding
took five years, completed in 1916, and was mostly done by machine; the
resulting parabola is accurate to two millionths of an inch – good for a
big mirror, despite Ritchey’s concerns. It remains the largest monolithic
mirror (the 200” at Palomar that superseded it has a honeycomb mirror).
The mirror
was originally silvered by a laborious wet process, but an aluminising tank was
installed in the 1930s.
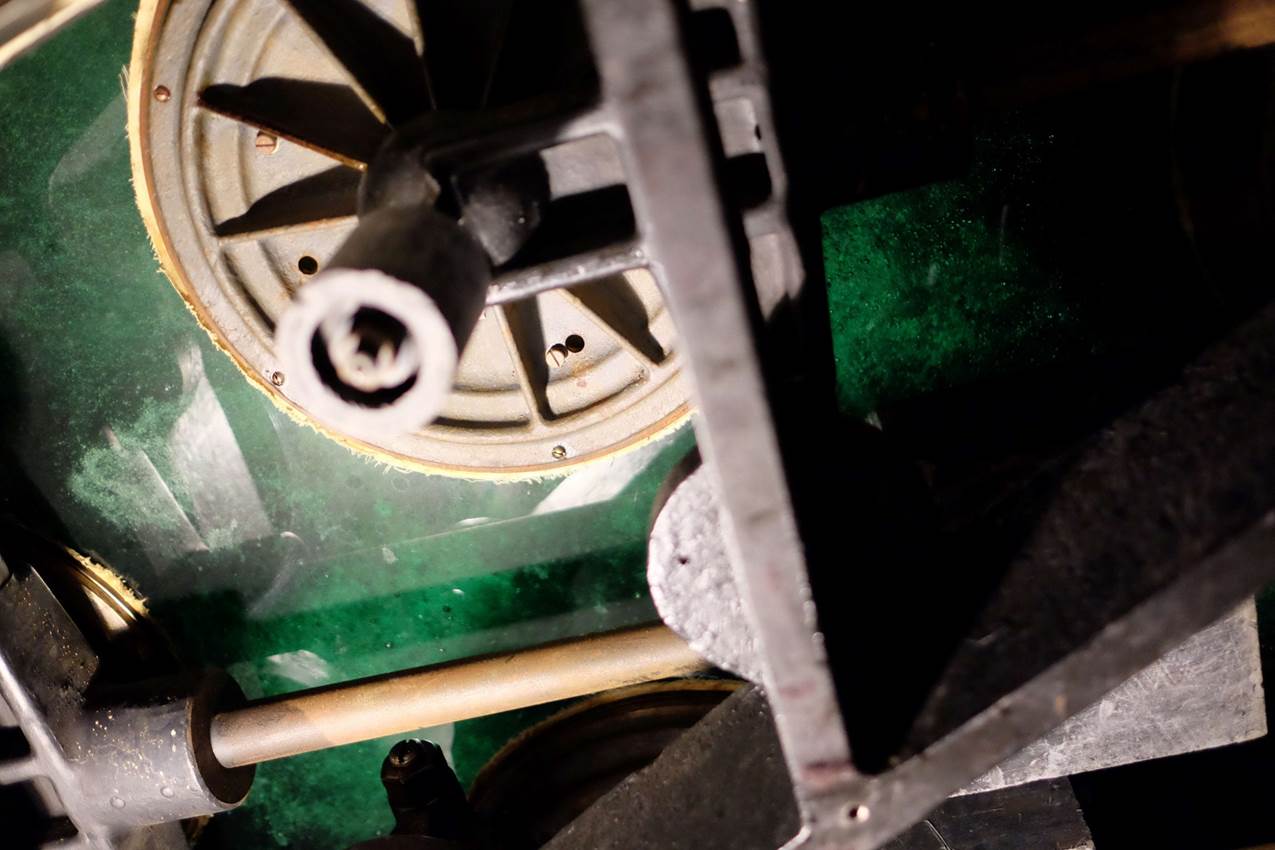
Back of the
100” primary mirror, showing one of the supports and the green glass with
bubbles.
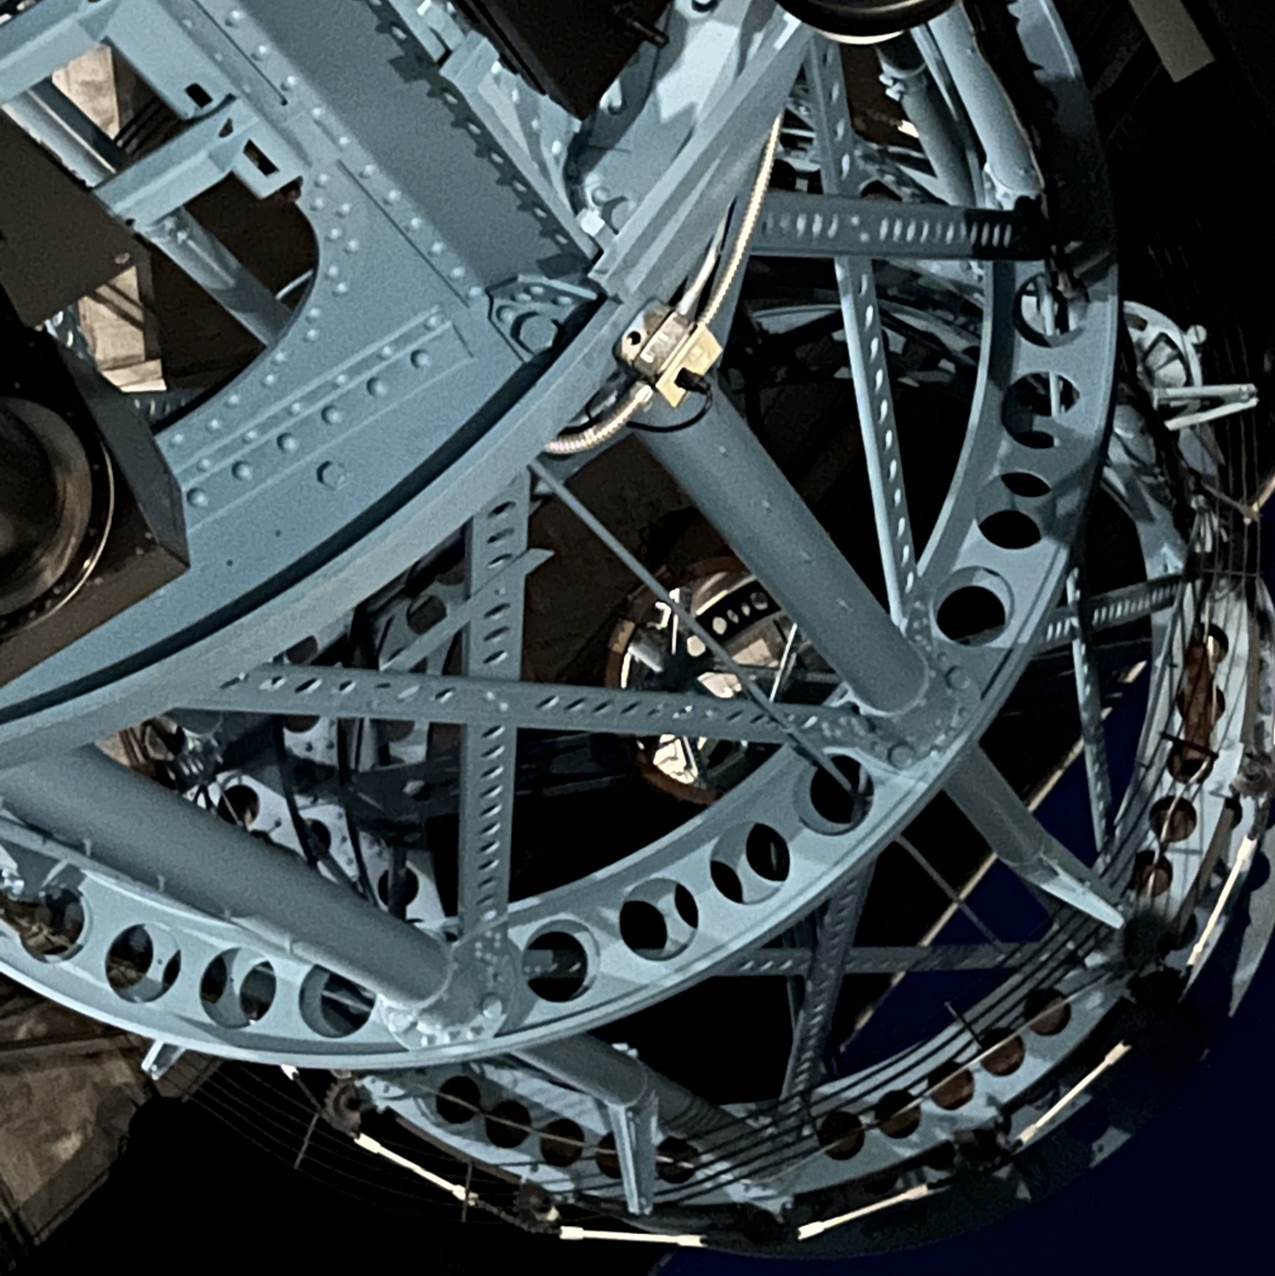
Cassegrain
secondary mirror.
Optics
- design
The basic
optical configuration of the 100” is a Classical Cassegrain, standard for
most older professional reflectors. It’s a design that uses a parabolic
primary (like your Dob’) and a hyperbolic secondary. In smaller
Cassegrains the light is directed through a hole in the main mirror, but large
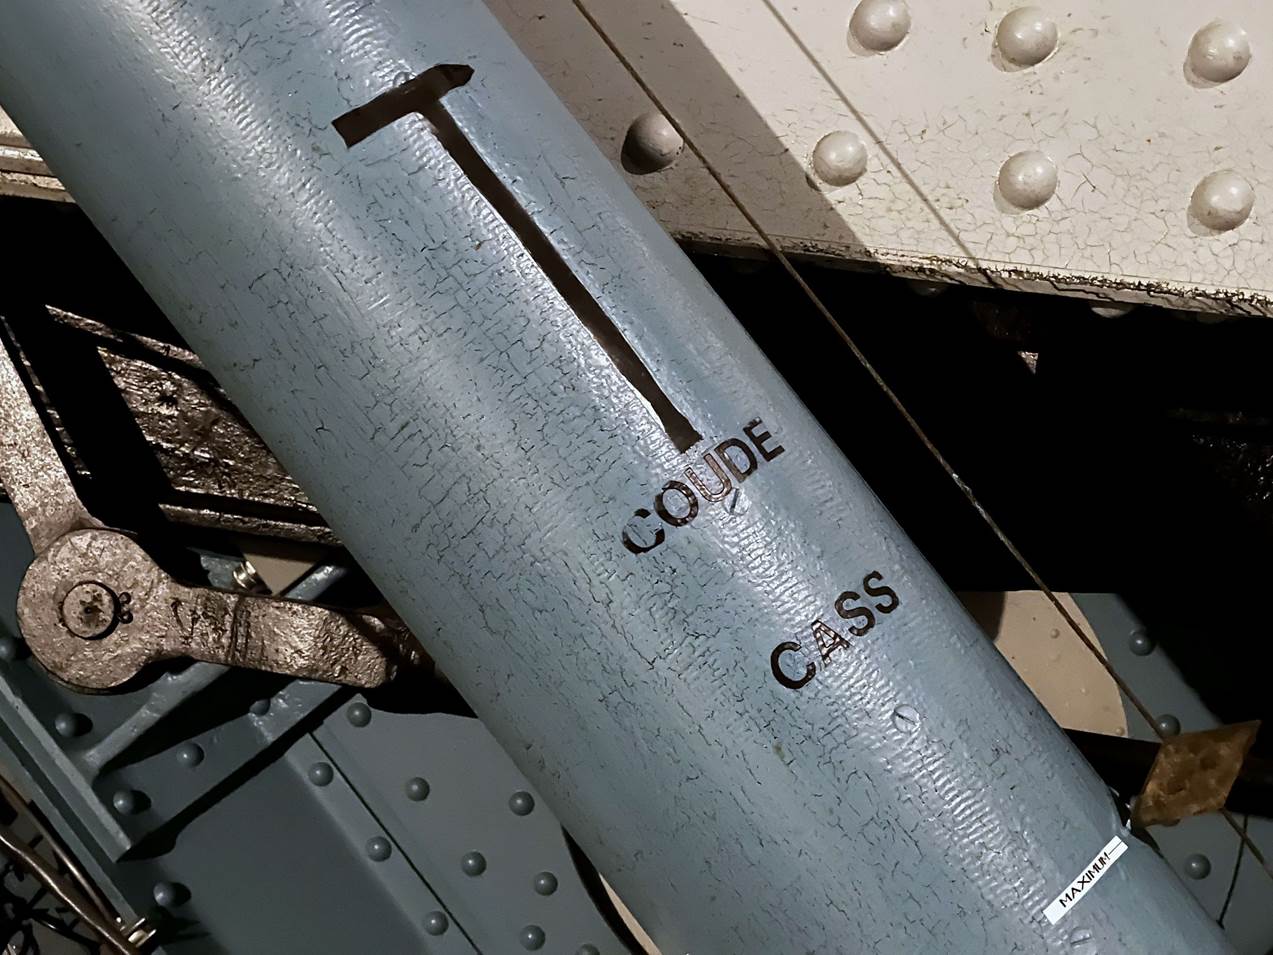
examples like this are used at prime focus or as a Coudé
where the light is directed out of the tube by a 45° plain mirror to a fixed point (often below the
south end of the RA axis) via other mirrors.
The
100” originally had other configurations, including a Newtonian (that
used a 24”x36” flat).
However,
the basic Classical Cassegrain configuration is not – unlike the
60” Hale at Mount Wilson – what you end up looking through today. Like the 82” at McDonald, the 100” has
been fitted with a (very) complex system of mirrors and lenses to provide a
convenient viewing point below the primary mirror cell and to widen the field
of view.
If
you’re interested, this optical system was explained to me as follows: a
45° plane mirror below the secondary angles the light
out of the truss-tube (like the 60”), but then onto another similar
mirror to angle it downwards and then through a negative singlet lens, onto a
third right-angle mirror and out through the complete OTA of a 127mm Explore
Scientific refractor (yes, including
its triplet objective!)
This system
will leave those who believe in optical simplicity scratching their head, but
it does shorten the focal length to only (!) 32m and results in a very
‘normal’ viewing experience with just a short step ladder to get to
the eyepiece, where previous observers had to perch high above the floor on a
little platform.
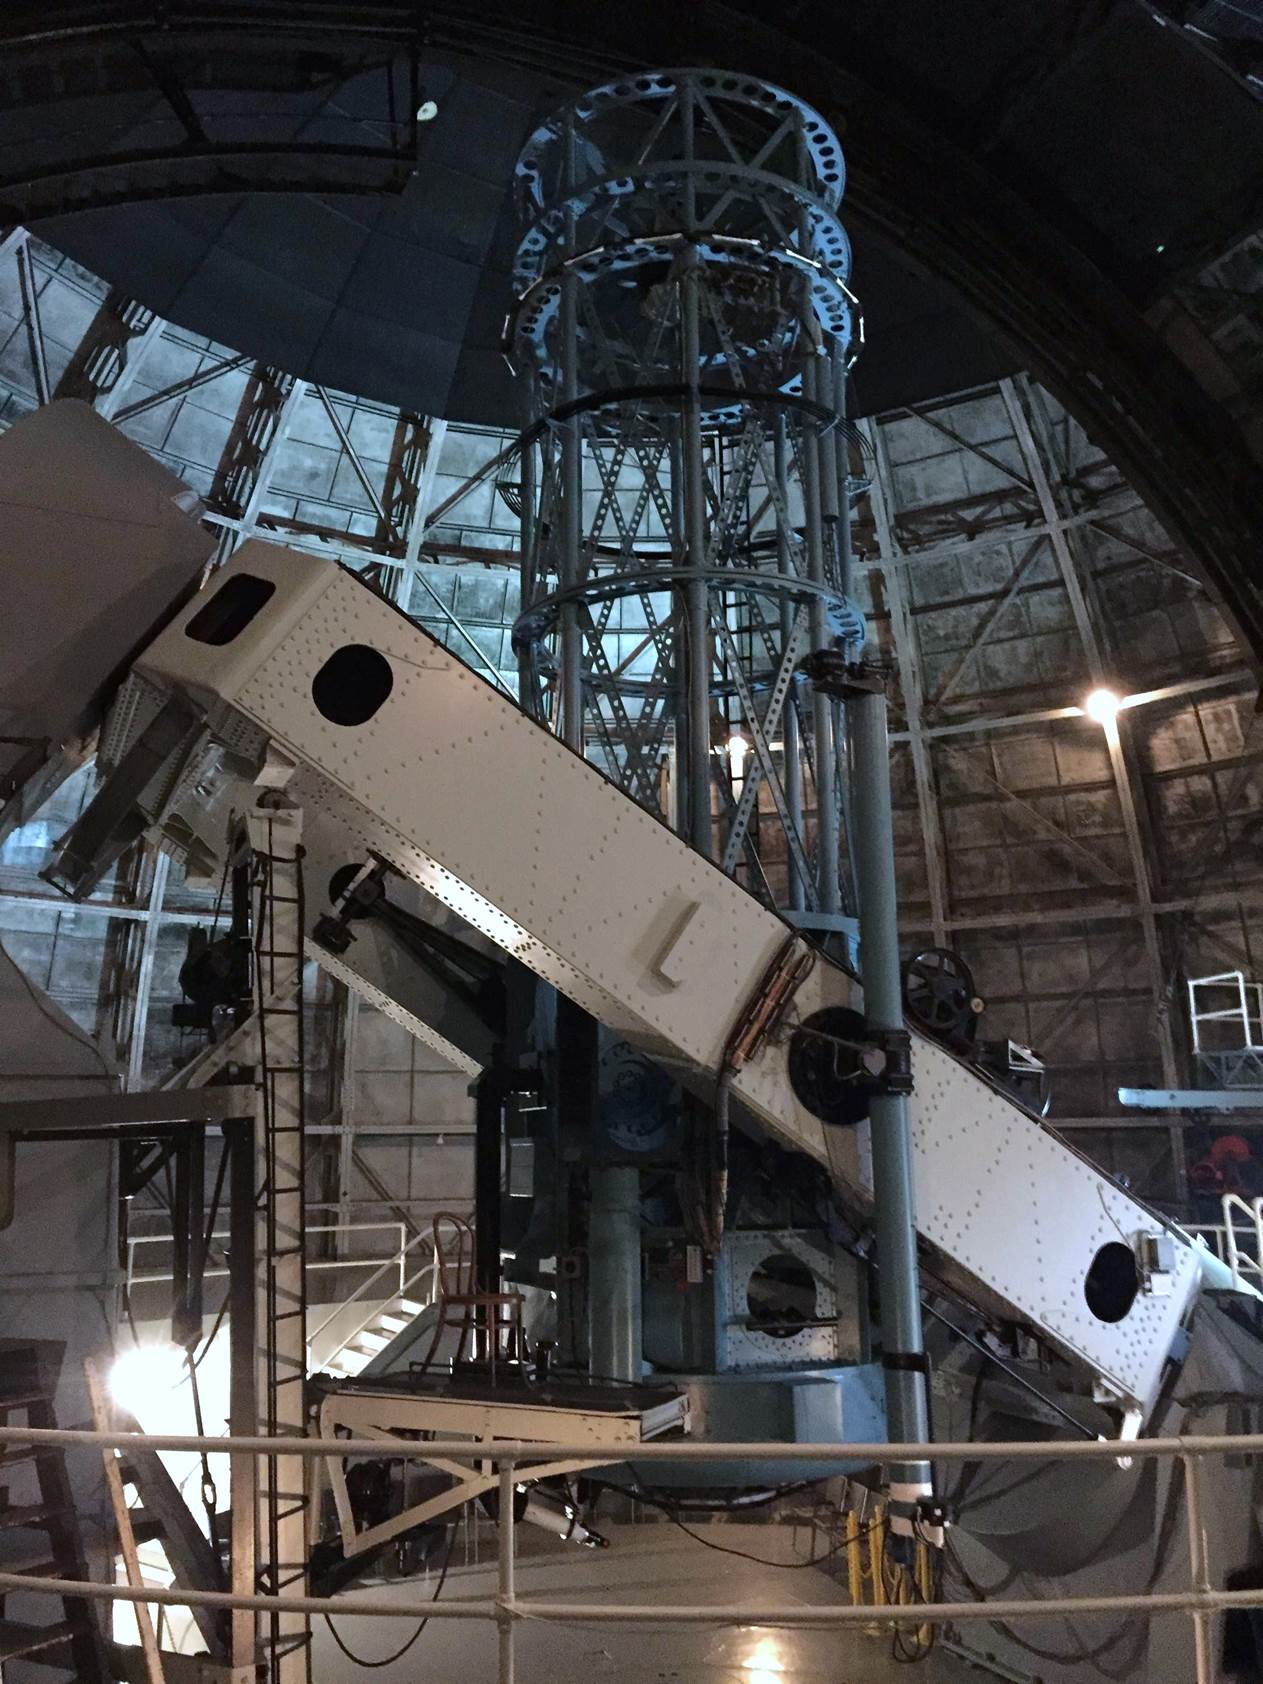
Tube
This was one
of the earliest big observatory reflectors, so the tube is unusual (but similar
to the 60” next door) – a lattice of small girders and truss tubes
like some Edwardian bridge.
Focuser
When I first
visited Mt Wilson, the focuser was a standard small Astro-Physics unit.
Apparently, this (and the stock 2” diagonal) proved too flimsy for the
massive Matsuyama eyepiece they sometimes use (see below). Consequently, that
Explore Scientific OTA which completes the optical path now ends in a
3.5” Feathertouch and an oversized diagonal.
Original
viewing platform with “Hubble’s Chair” and new focuser below.
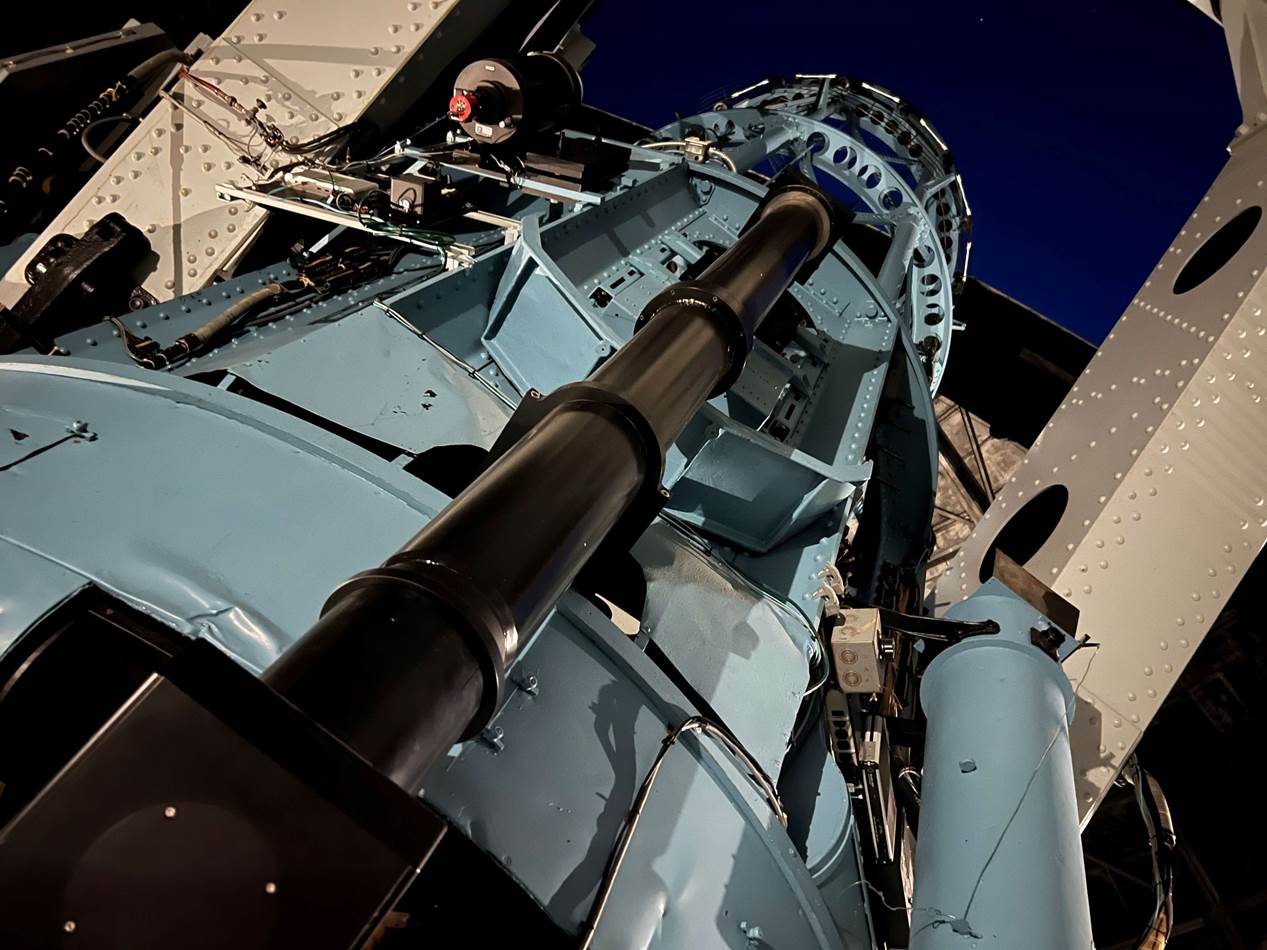
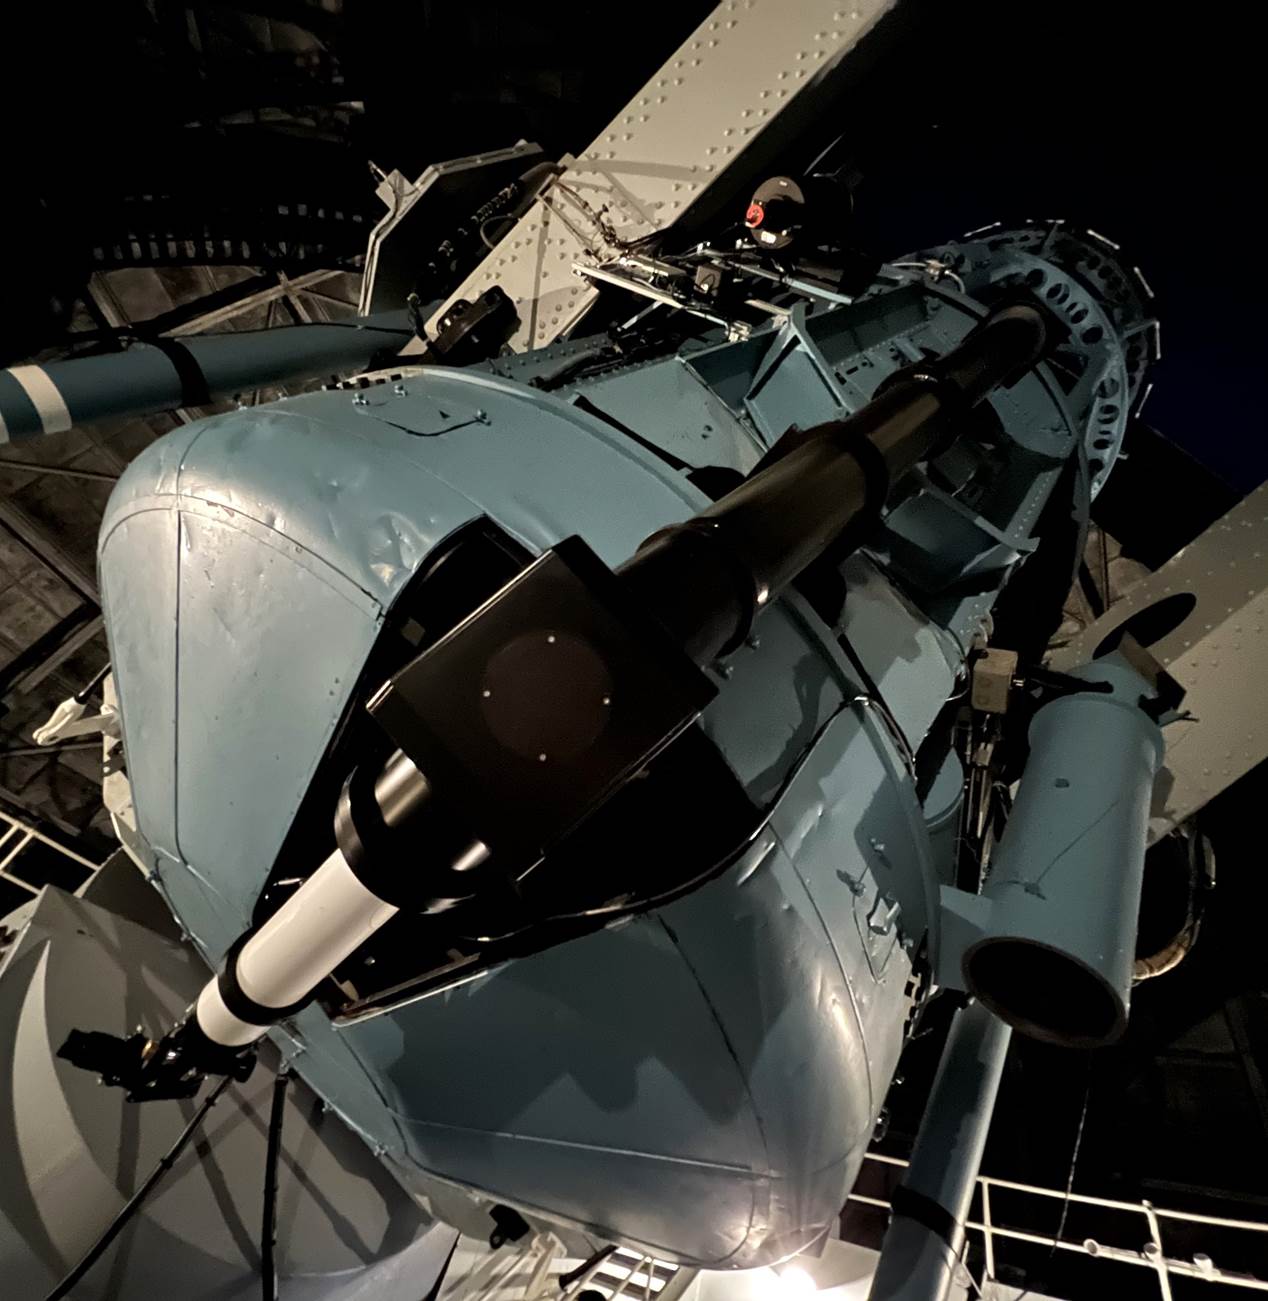
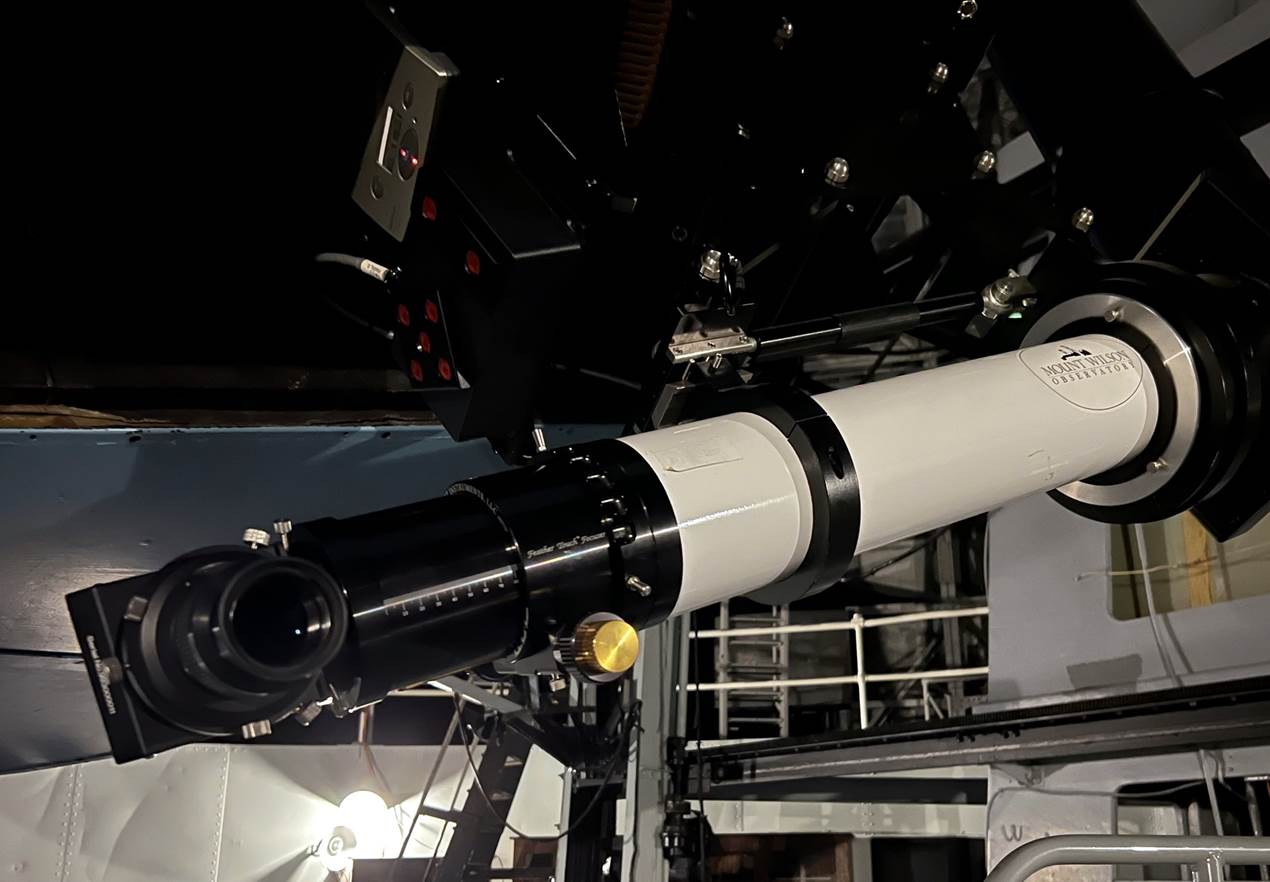
Focuser
attached to complete Explore Scientific refractor that forms part of the
reducer system.
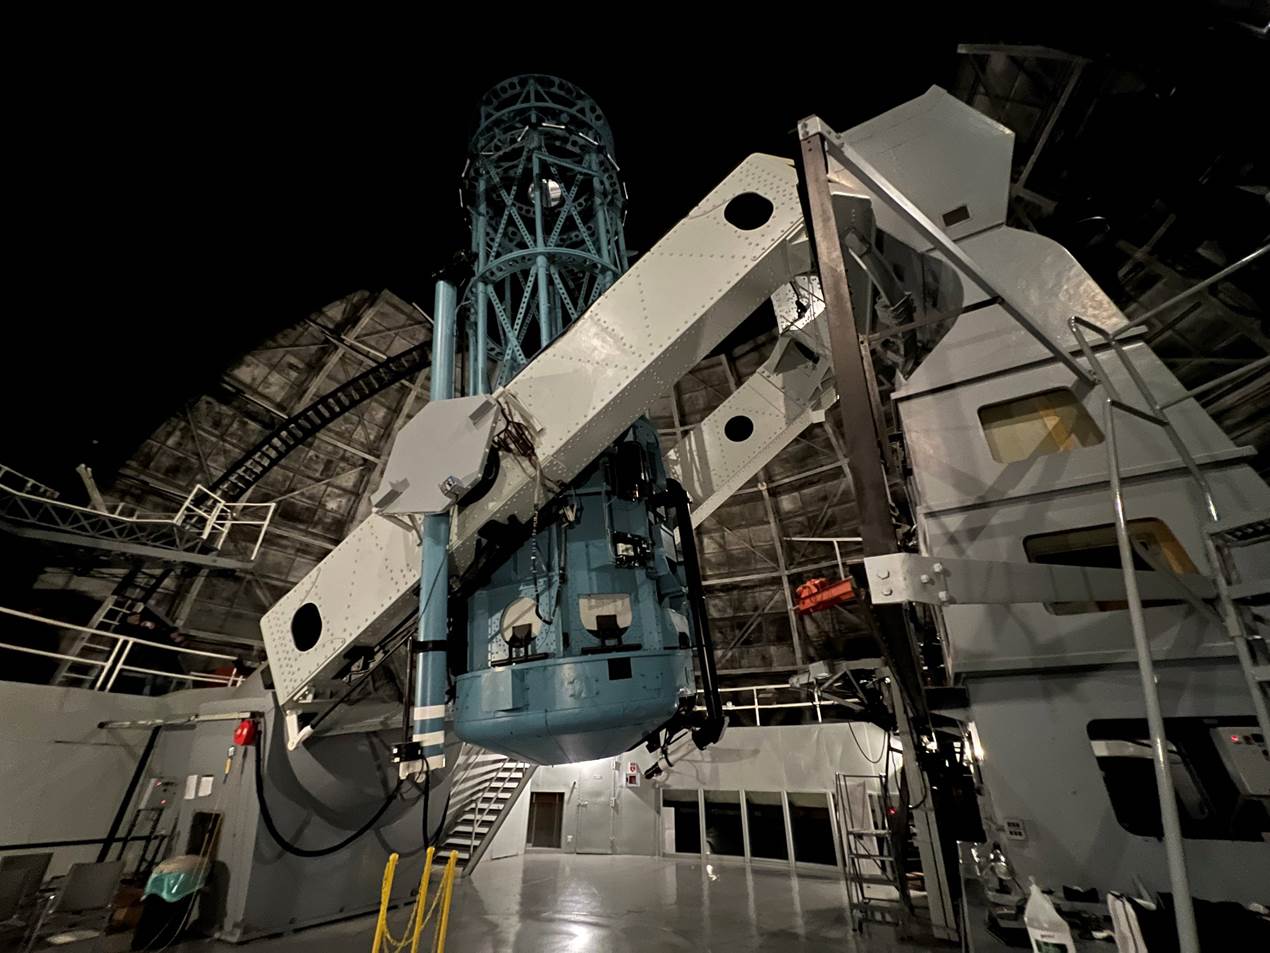
Wide angle
view of the mount.
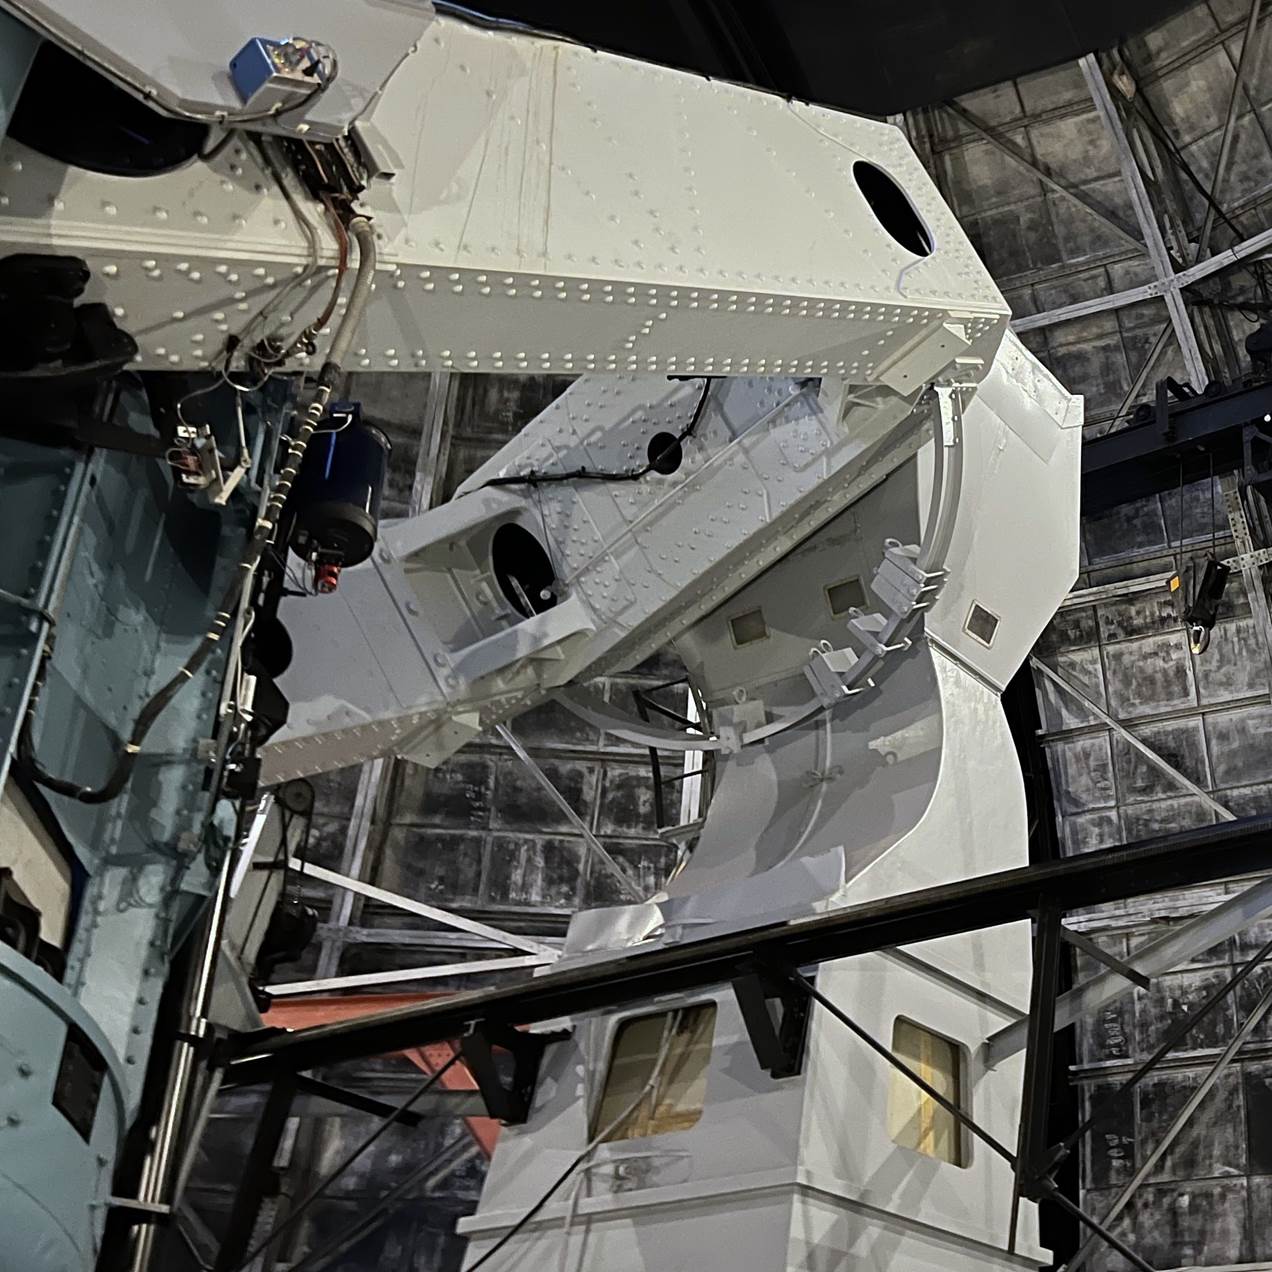
North pier
and bearing.
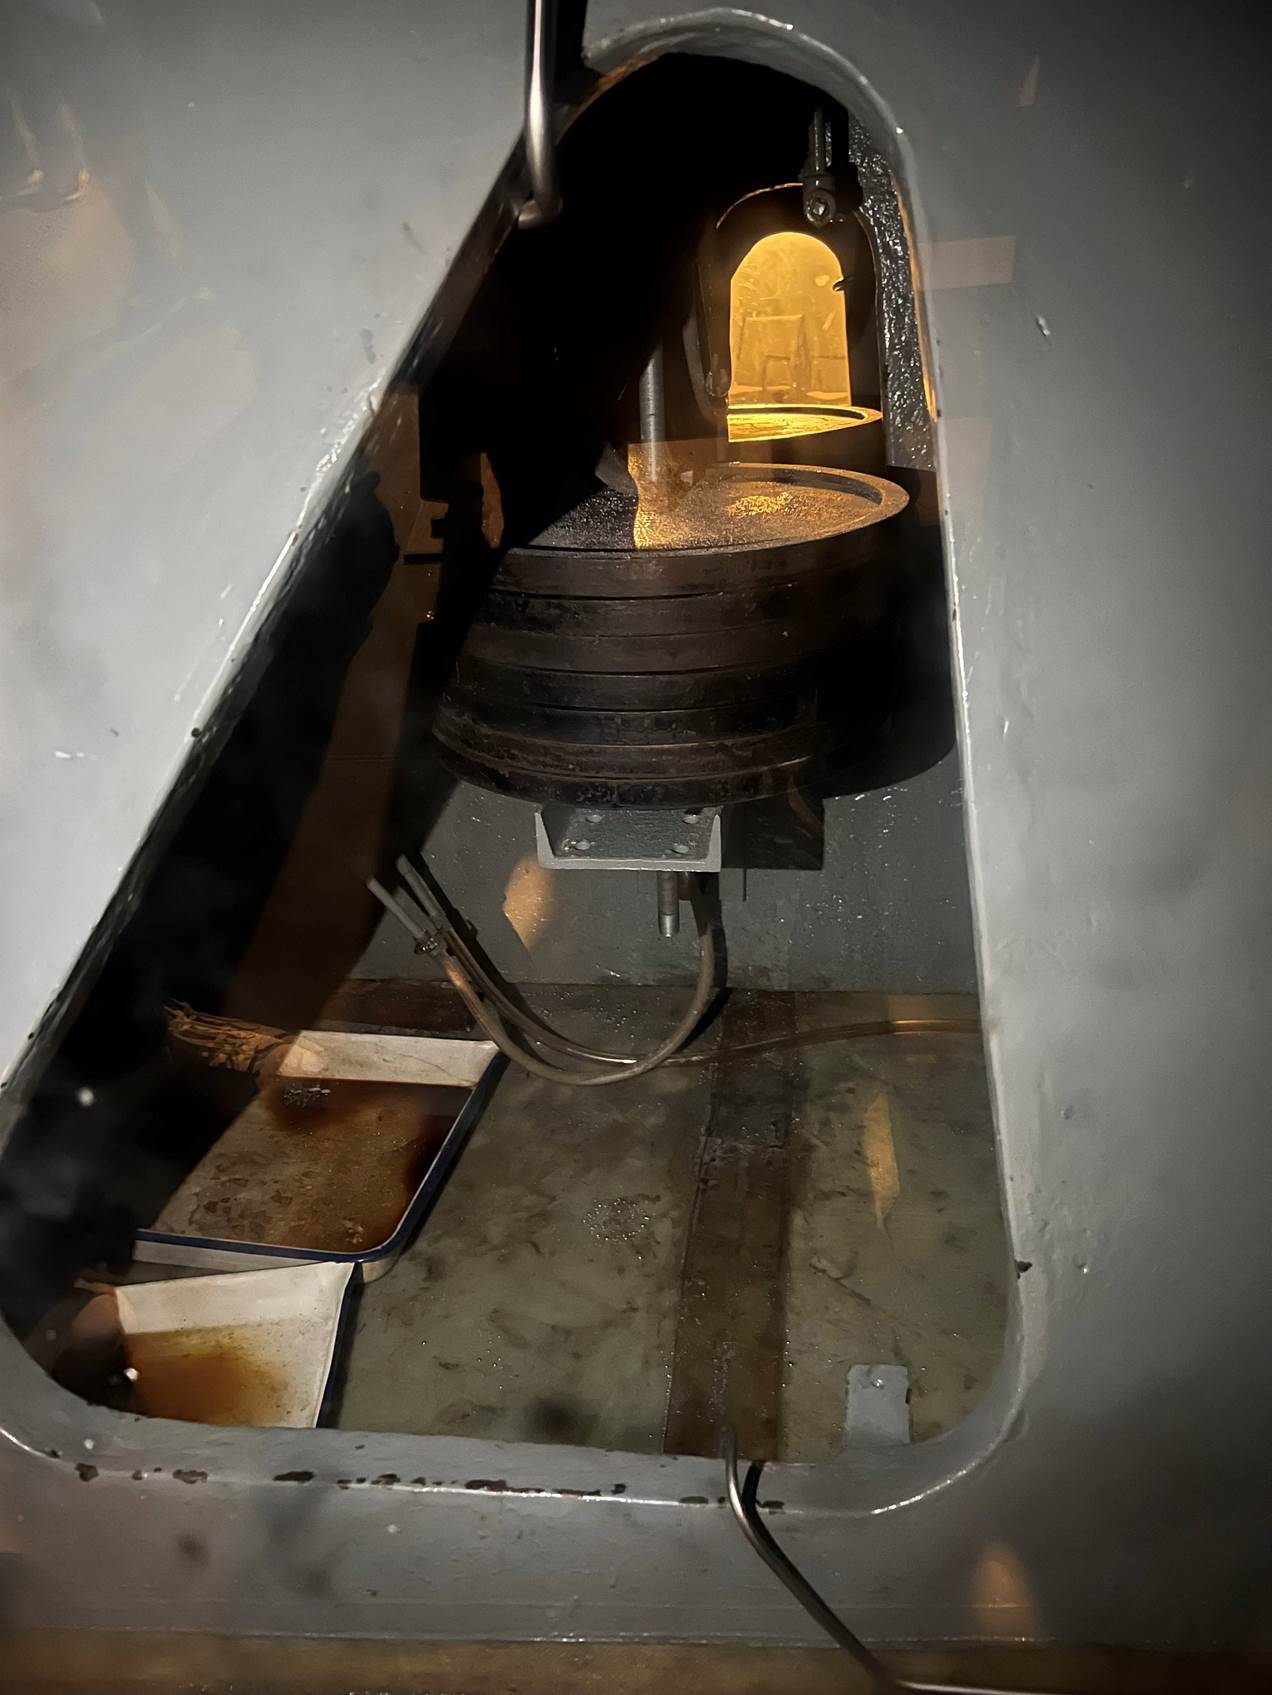
Mercury
inside the south pier bearing housing.
Accessories
Most of the
viewing was done with a TeleVue 55mm Plössl eyepiece that gives the maximum possible field
in a 2” diagonal – a favourite with large telescopes and giving 580x
magnification and an FOV of just 0.08°.
However,
they also have an unusual 80mm Matsuyama eyepiece with a 3” barrel. This
wasn’t used as much, but gives a more ‘normal’ magnification
of 400x with a FOV of more than a tenth of a degree.
Mounting
The huge
yoke mounting was built by a shipyard in Massachusetts and employs bearings
with mercury baths to reduce the load, like the 60”.
Originally,
a huge mechanical clock mechanism with a 2-ton weight drove the 17-foot RA
gear, but it has electric drives and computer pointing now.
One reason
that the 100” is no longer used for research is apparently that an
earthquake knocked the RA axis slightly out of alignment. The 60” has
adjustments to allow for this, but either the 100” does not or the quake
moved it beyond the adjustment limits. They are apparently working on a
software fix to compensate, but for visual use alignment and tracking seemed
perfect.
In
Use – Astrophotography
The telescope
operator showed us some very good planetary images taken at prime focus with a
DSLR, but I didn’t try this personally.
In
Use – Observing the Night Sky
General
Observing Notes
Unusually
for a public viewing session, they were happy for us to use the focuser. My
experience with big telescopes is that it’s often hard to get best focus,
but it was especially difficult in this case, perhaps due to the seeing.
The dome
moves swiftly and almost silently, unlike the clanky 60” dome. When
standing on the mezzanine level where the control panel is located, this gives
the unnerving sensation that it’s you that’s moving not the dome.
Likewise, the mount slews surprisingly fast and points to a wide range of
altitudes (though near-horizon viewing is limited by the eyepiece position and
the fact that the main mirror is not anchored).
The seeing
was mediocre, contrary to Mount Wilson’s reputation and the
best-in-lifetime seeing I experienced there before. Unfortunately seeing is the
biggest factor for viewing nights on these large telescopes.
Most of the
viewing was done with that classic of almost every observatory viewing session,
the Tele Vue 55mm Plössl – here giving a magnification of ~580x!
The longest focal length eyepiece available was the 80mm Matsuyama giving
“just” 400x (by comparison, the 60” has a 4” focuser
that allows an even longer-focal-length 100mm eyepiece).
Object List
Cor Caroli
This binary
double star with a big split showed fuzzy components to prove that the temperature
in the dome hadn’t yet stabilised.
La Superba
By the time
we moved onto this deep red carbon star, the seeing had improved somewhat, but
was still too poor to show off this unusual star to best effect.
M3
Even though
there was still a trace of dusk light in the sky, this large globular cluster
was resolved right to its centre.
M57
The Ring
Nebula in Lyra is a classic amateur object, just a tiny smoke ring through most
telescopes. This is where the huge light gathering ability of the 100”
shows, with the magnitude 16 central star clearly visible. At 580x the nebula
revealed the shape and form – an ovoid with diffuse nebulosity at the
ends - you only see in images.
M51
This classic
spiral galaxy revealed a hint of its structure, but not as much as I’d
hoped, due to the seeing, light pollution or both.
Double Double
Another
classic amateur object as you’ve never seen it. The components of Epsilon
Lyrae showed a giant split, but still fuzzy stellar images due to the mediocre
seeing.
Albireo
Again, a huge
split in this famous Cygnus double star. Good colours in the orange and blue
components, despite bloating due to the seeing (I imagine this would be a
spectacular view in steadier conditions).
Comet
C2017K2 Pan Stars
This was an
unexpected highlight for me. Even though still dim and far at the time, at a
point in its orbit when few had viewed or even imaged it, this comet showed a
bright and distinct shape, with a clearly defined core, set against an
attractive starry backdrop.
M13
Another
large globular cluster resolved right into the core, including the
‘smiley face’ asterism. It was possible to distinguish the colour
of red giants in the mass of stars.
Campbell’s
Hydrogen Star
This is an
unusual class of massive star that’s throwing off material as it nears
the end of its short life. A favourite with large telescopes it didn’t
disappoint. Look directly at it and the ring of ejected gas has a strong red
(hydrogen) hue. But use averted vision to see brighter hints of the
intersecting rings and the colour disappears!
The only
planet up was Jupiter, but it was sadly too low to view (a common occurrence
with observatory scopes). The telescope operator did report
“incredible” planetary views with the 100”, including seeing
the edges of the hexagonal storm at Saturn’s pole, but I’ll have to
take his word for it.
To
sum up, I enjoyed the viewing session on the 100”, but it was a slightly
frustrating experience for me overall. I really appreciated the comet, but
otherwise there were rather too many ordinary stars – Albireo was
beautiful, but not much more so than through a pair of Bino’s! Better
seeing would have helped.
The Broader
100” Viewing Night Experience
As usual
with my reviews of big outreach instruments, I’ve included this section
to describe the broader public viewing experience. Read on for what the viewing
night was like; or skip it if you’re only interested in the telescope.
Getting
there
Mount
Wilson observatory lies in the San Gabriel Mountains to the north of Pasadena.
My visit began with negotiating the ‘Angeles Crest
Highway’ from the
suburb of Flintridge up into barren mountains: tight bends and big drop-offs,
straight out of the Spielberg movie ‘Duel’. This road gets busy
with cyclists, bikers, tourists enjoying the views and commuters returning to
Lancaster: allow plenty of time.
After
about half an hour of driving, the turn-off to Mount Wilson appears on the
right, where there is a trail-head car park with toilets, tables and views
– a good place to rest for a pre-session picnic (the session
doesn’t include a meal).
The
road up to the observatory is narrow and winding, following the ridge, with
views over forested canyons to the left and steep cuttings to the right.
Eventually some tall antennae and the domes of the observatory appeared ahead.
Driving around to the right on a short one-way system, I
arrived at some black roller gates with TV cameras set into the pines, parked,
and waited alongside other visitors, some for a parallel 60” session.
The 100” viewing session was scheduled to start at
20:15. The Session Directors arrived shortly beforehand and led us slowly
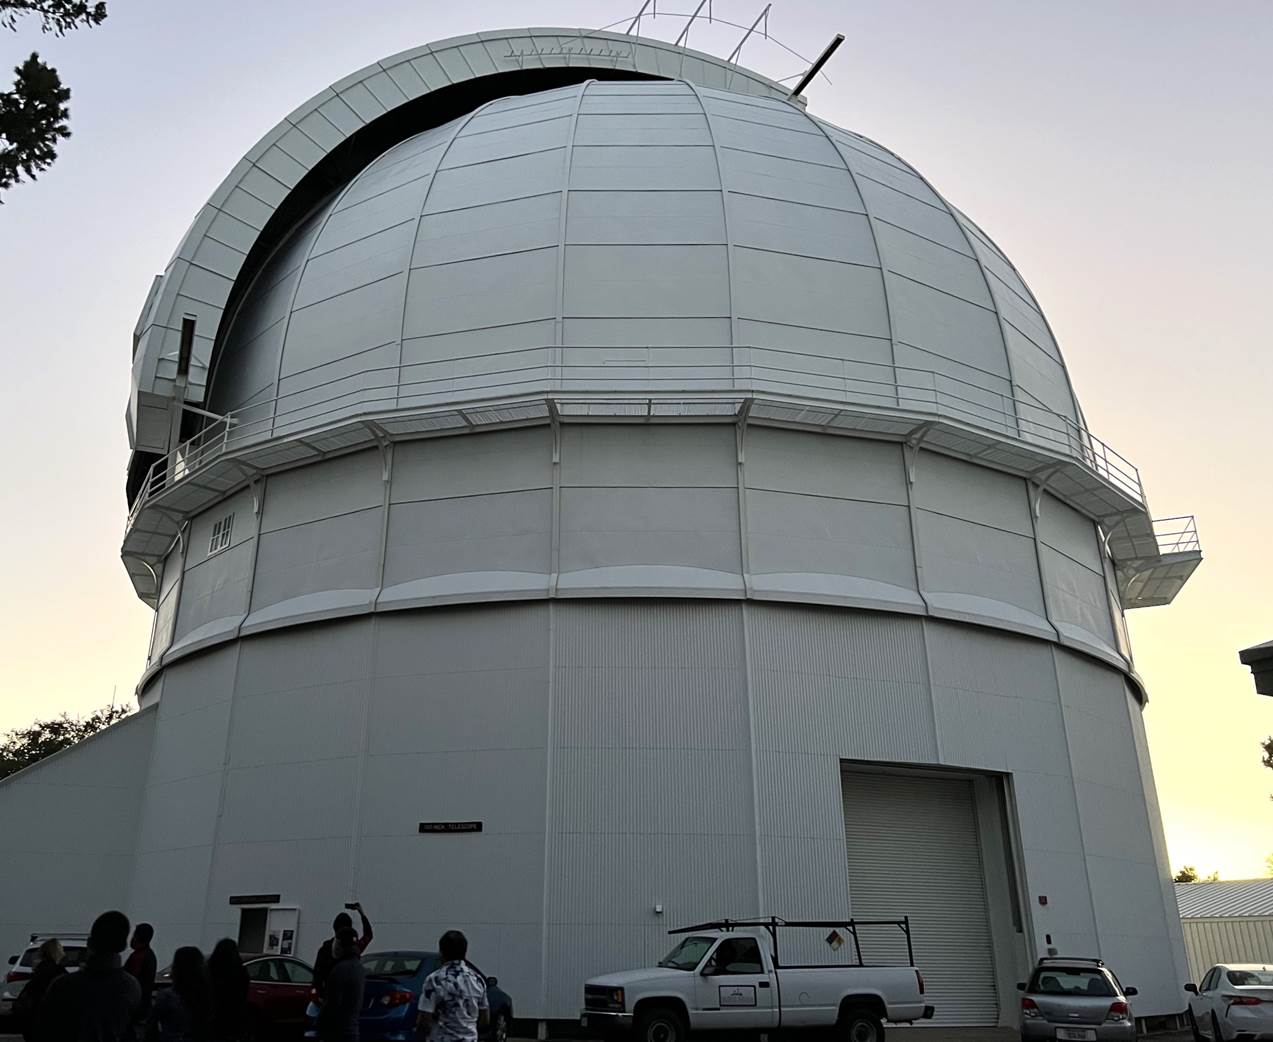
through Mount Wilson’s wooded grounds to the base of the giant 100”
dome.
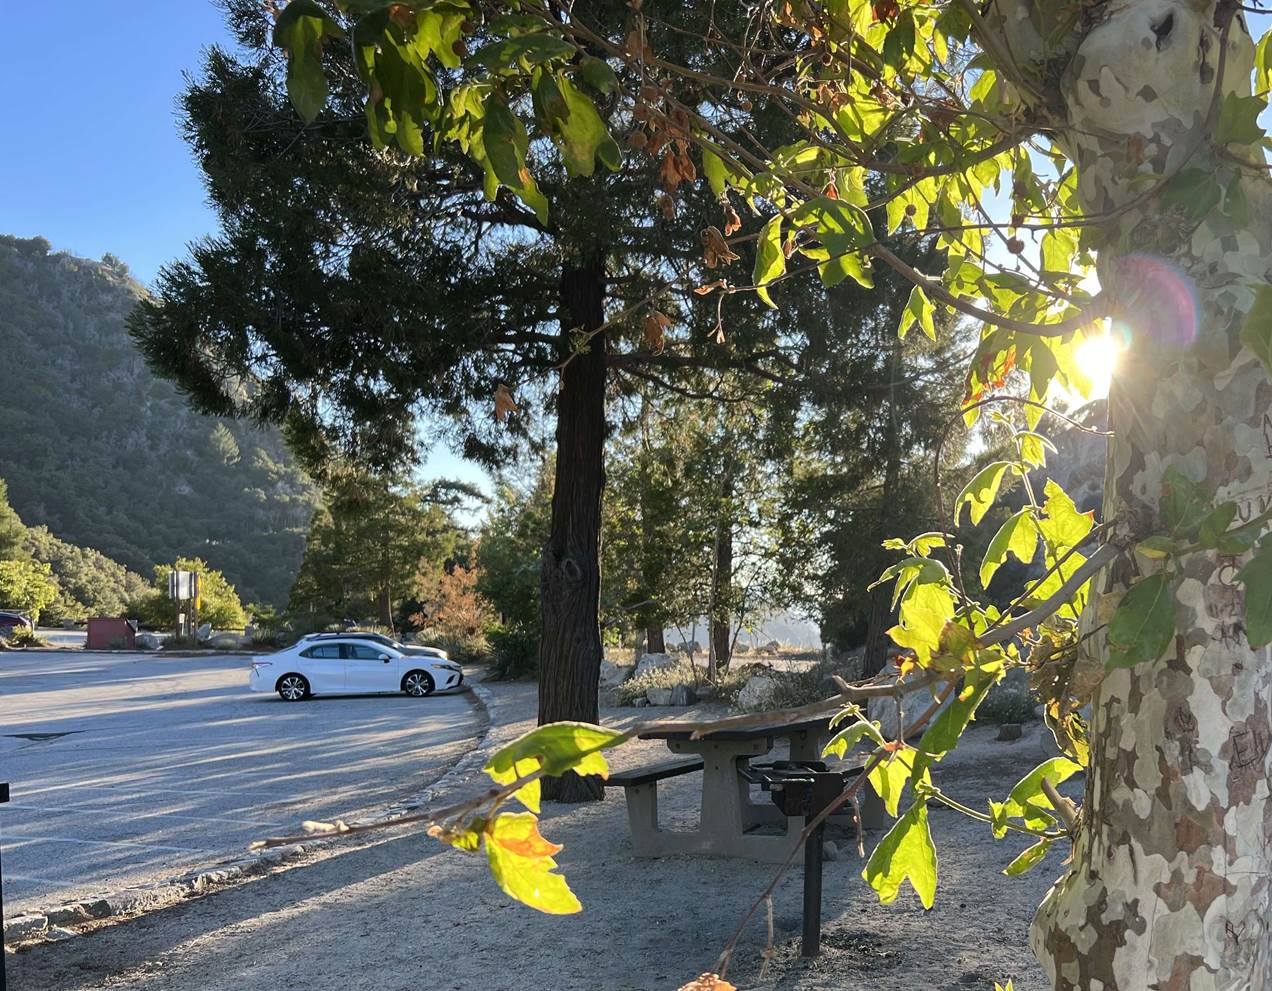
Trailhead parking area at the start of Mt Wilson Rd –
great for a pre-session picnic!
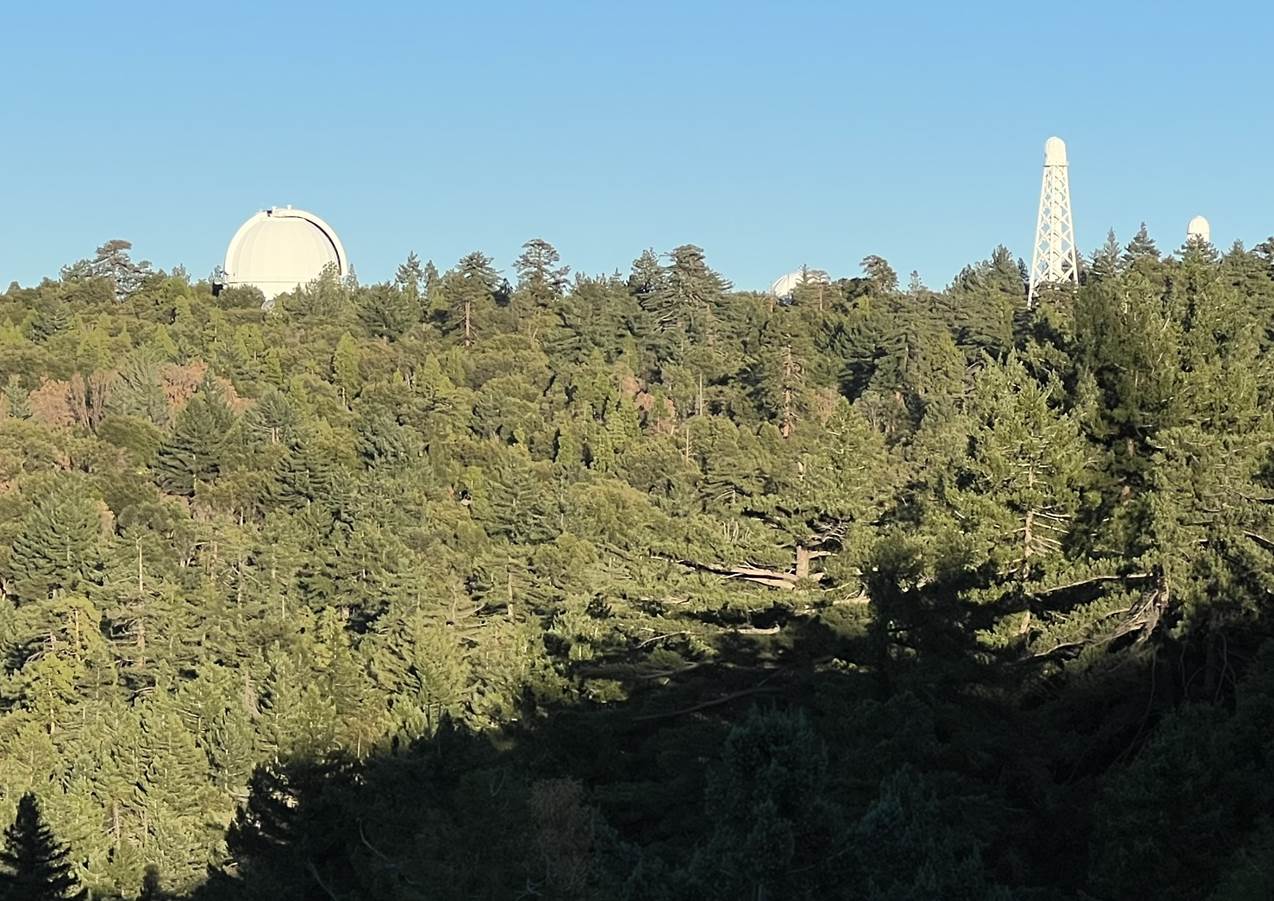
Mount Wilson Observatory from the access road.
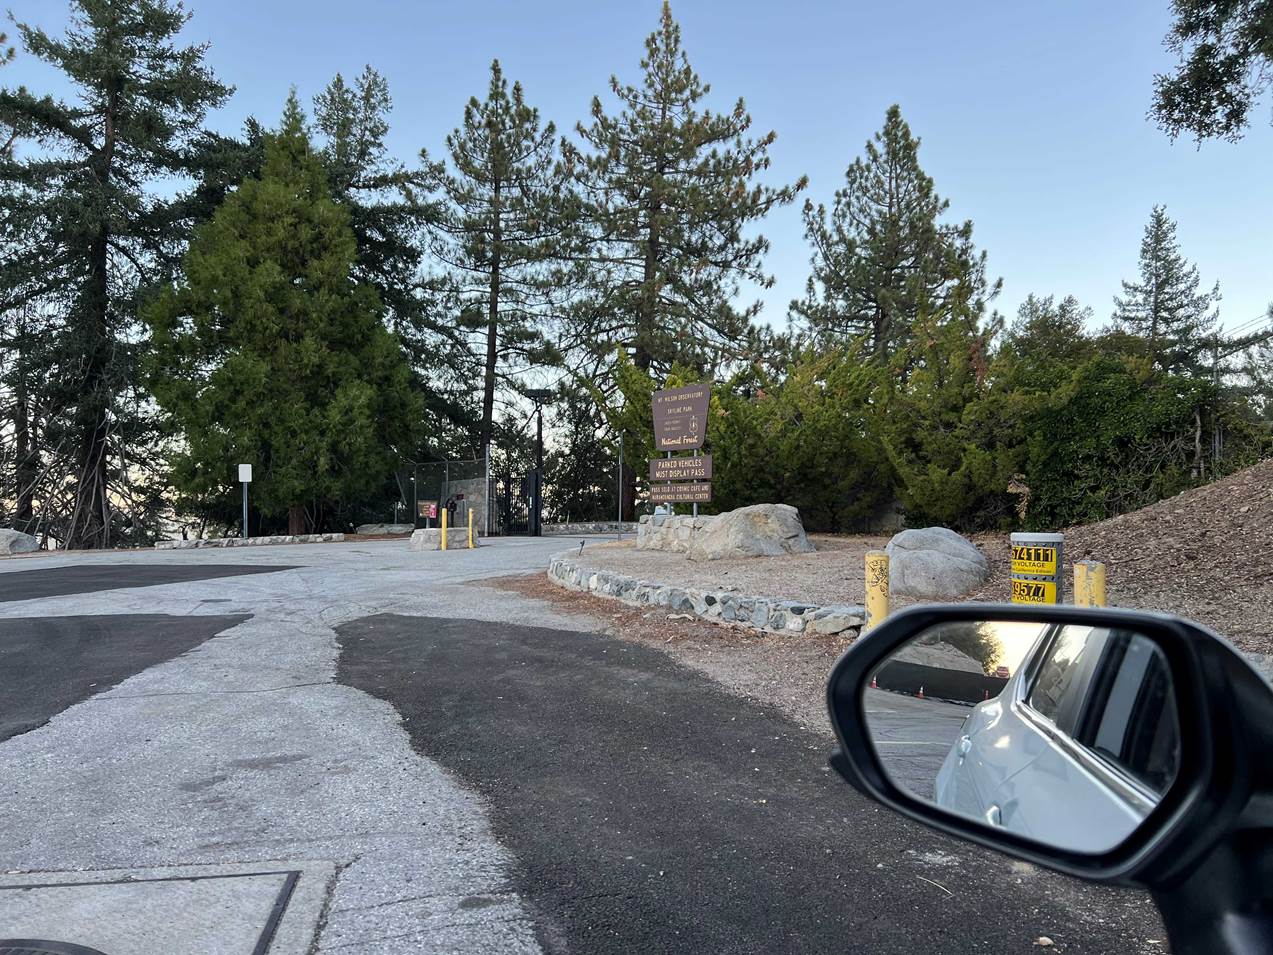
Waiting for the session outside the Mount Wilson gates.
Before the session.

Moon
above the 100” dome shutters from a previous visit.
Entering the historic 100” dome.
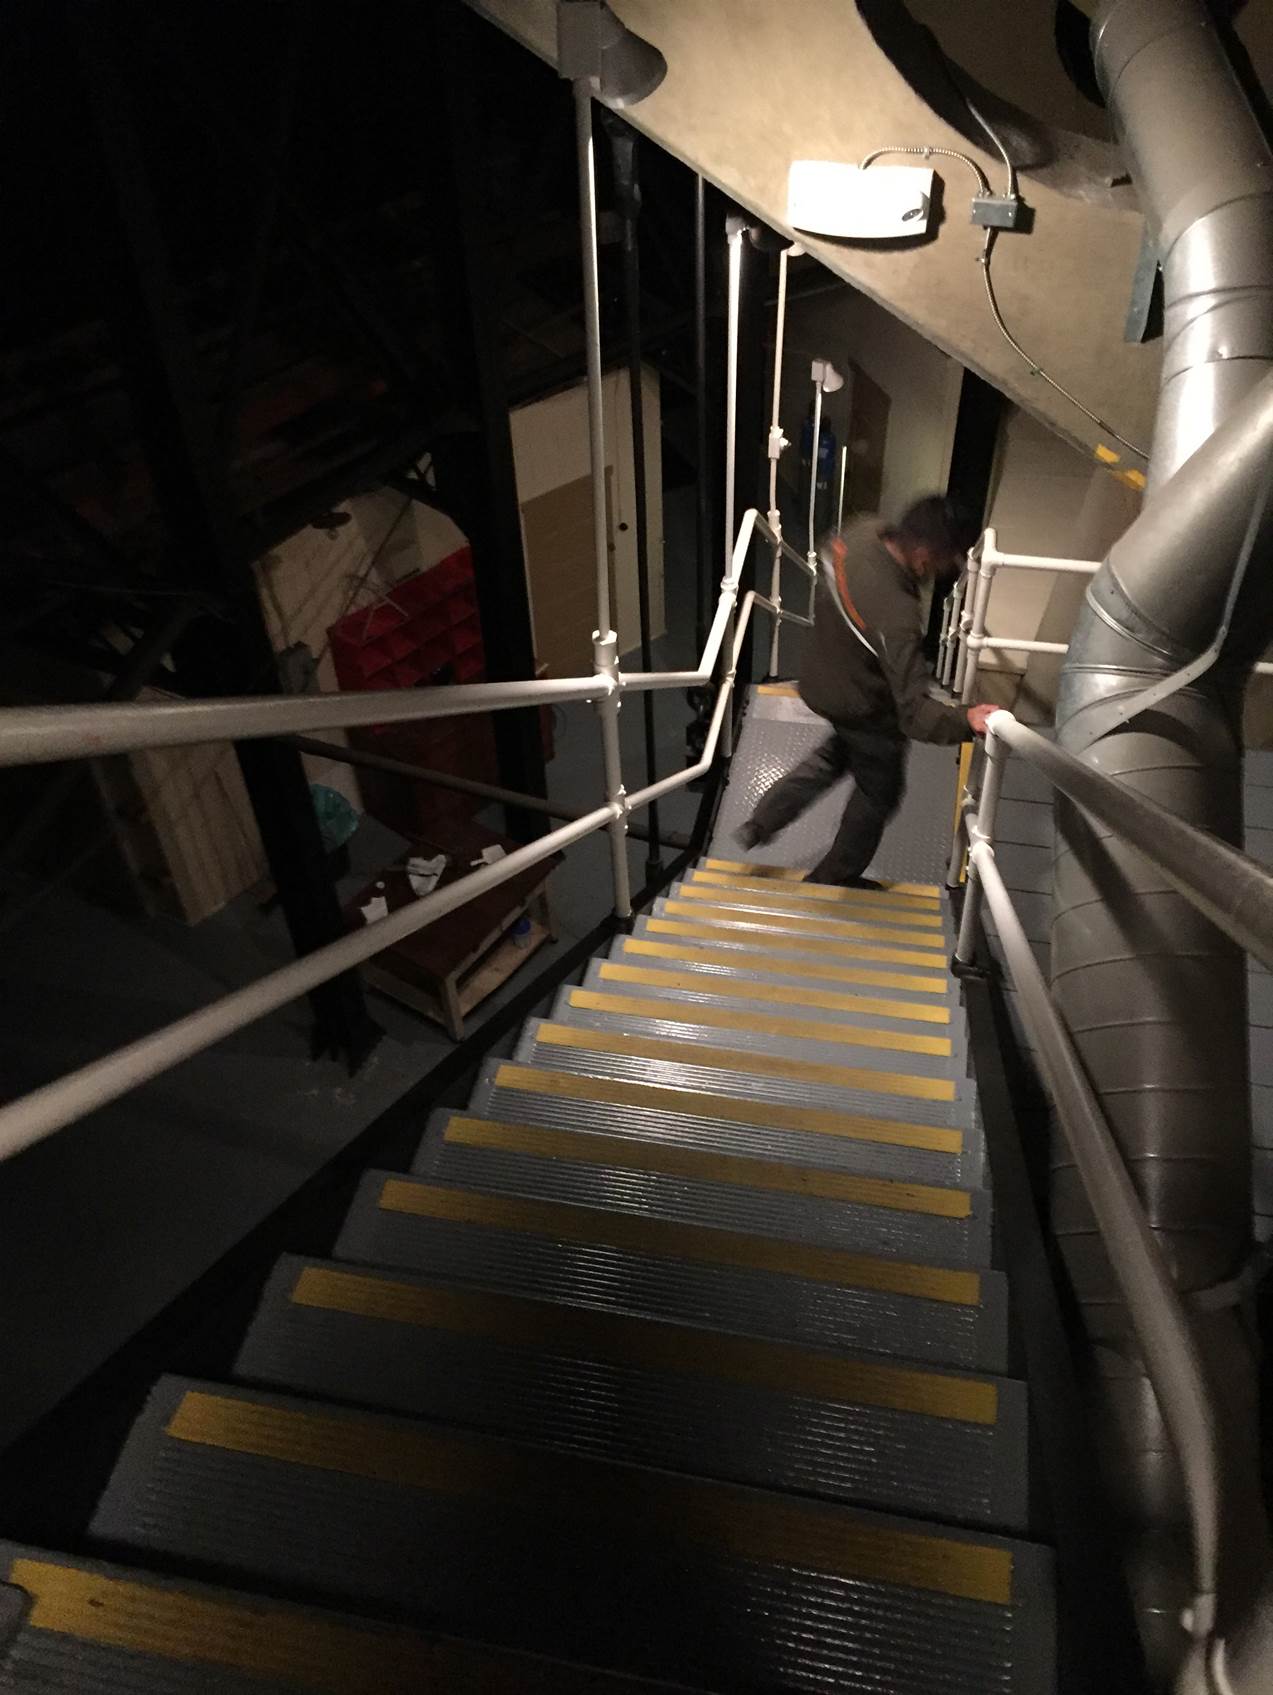
Lower stairs.
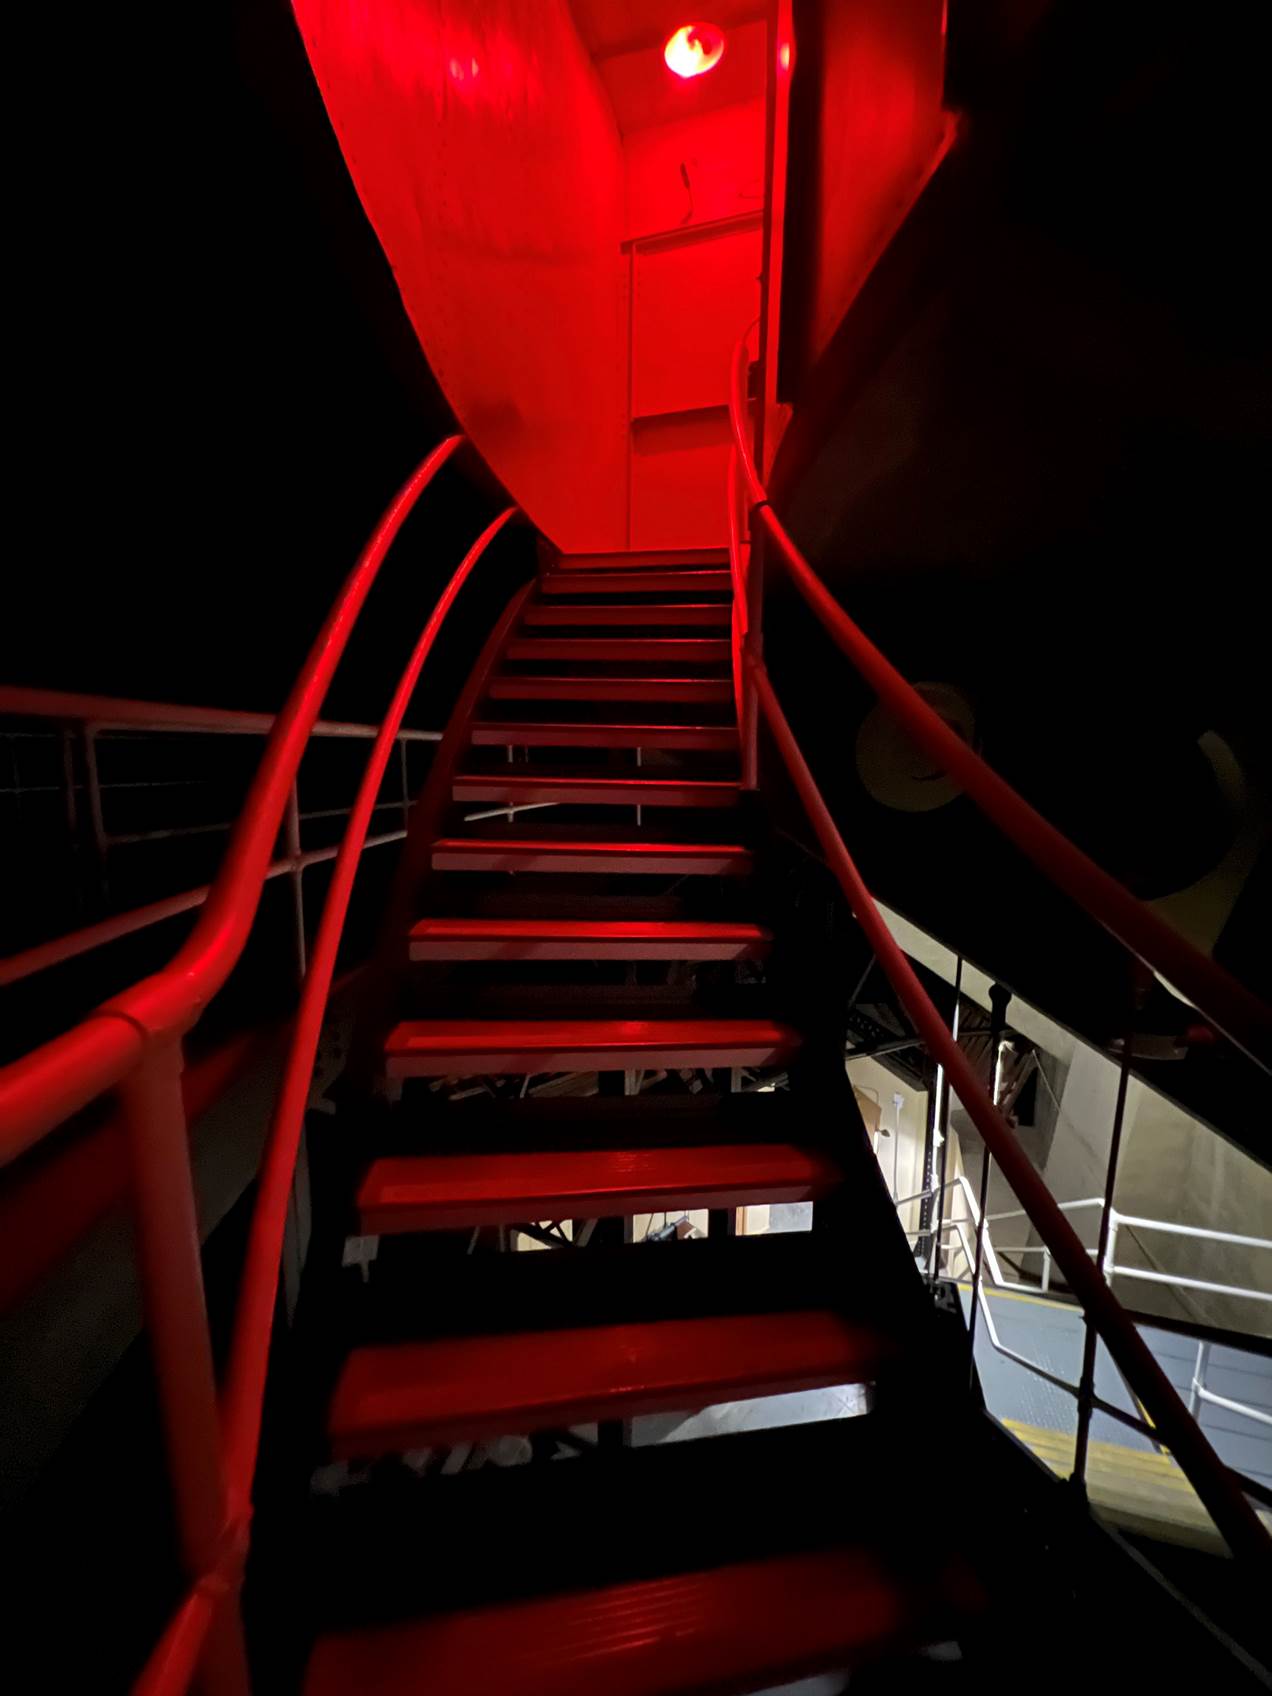
Stairs up to the observing floor, then stepping inside…
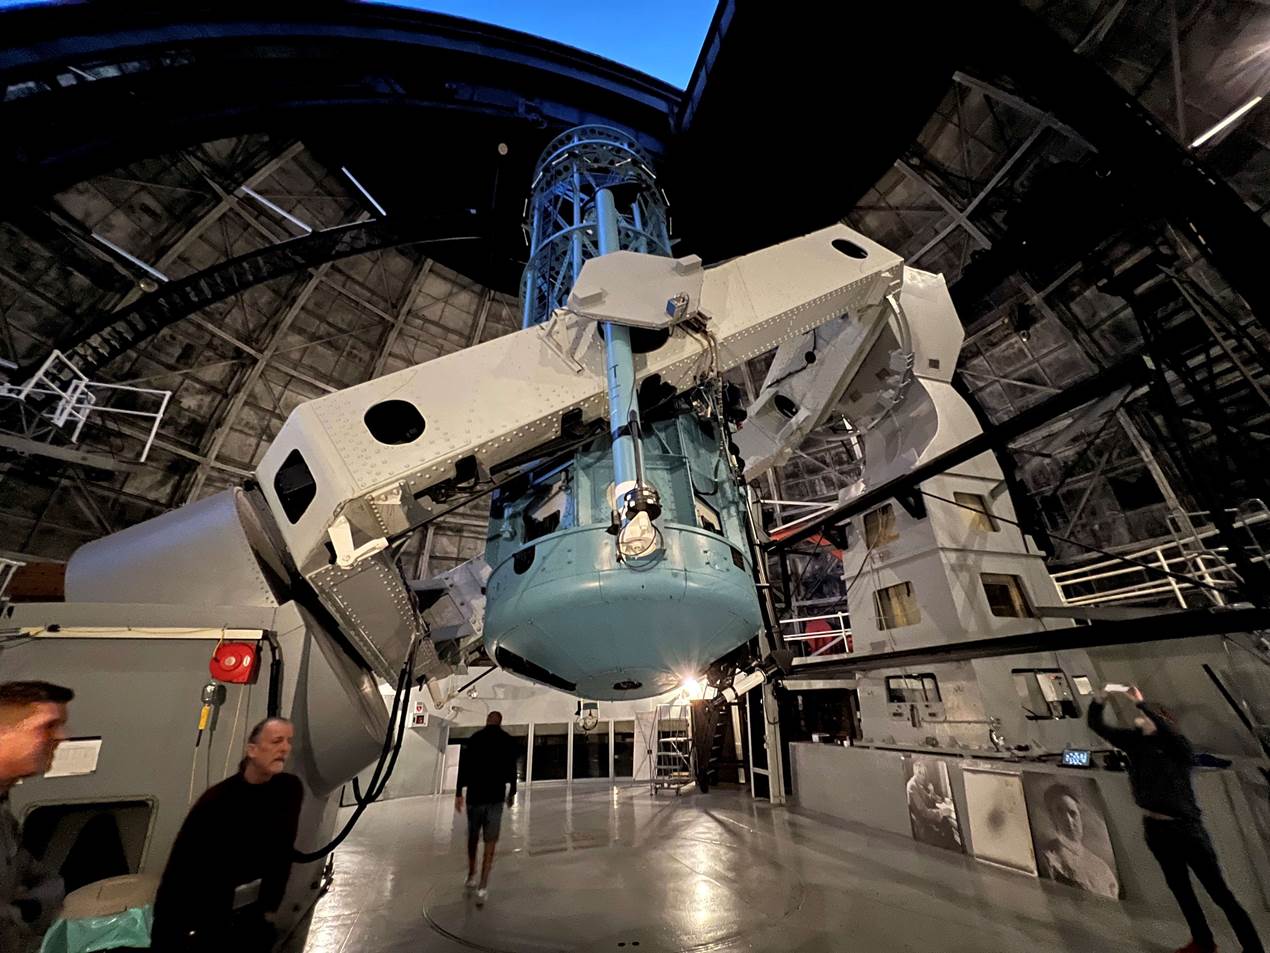
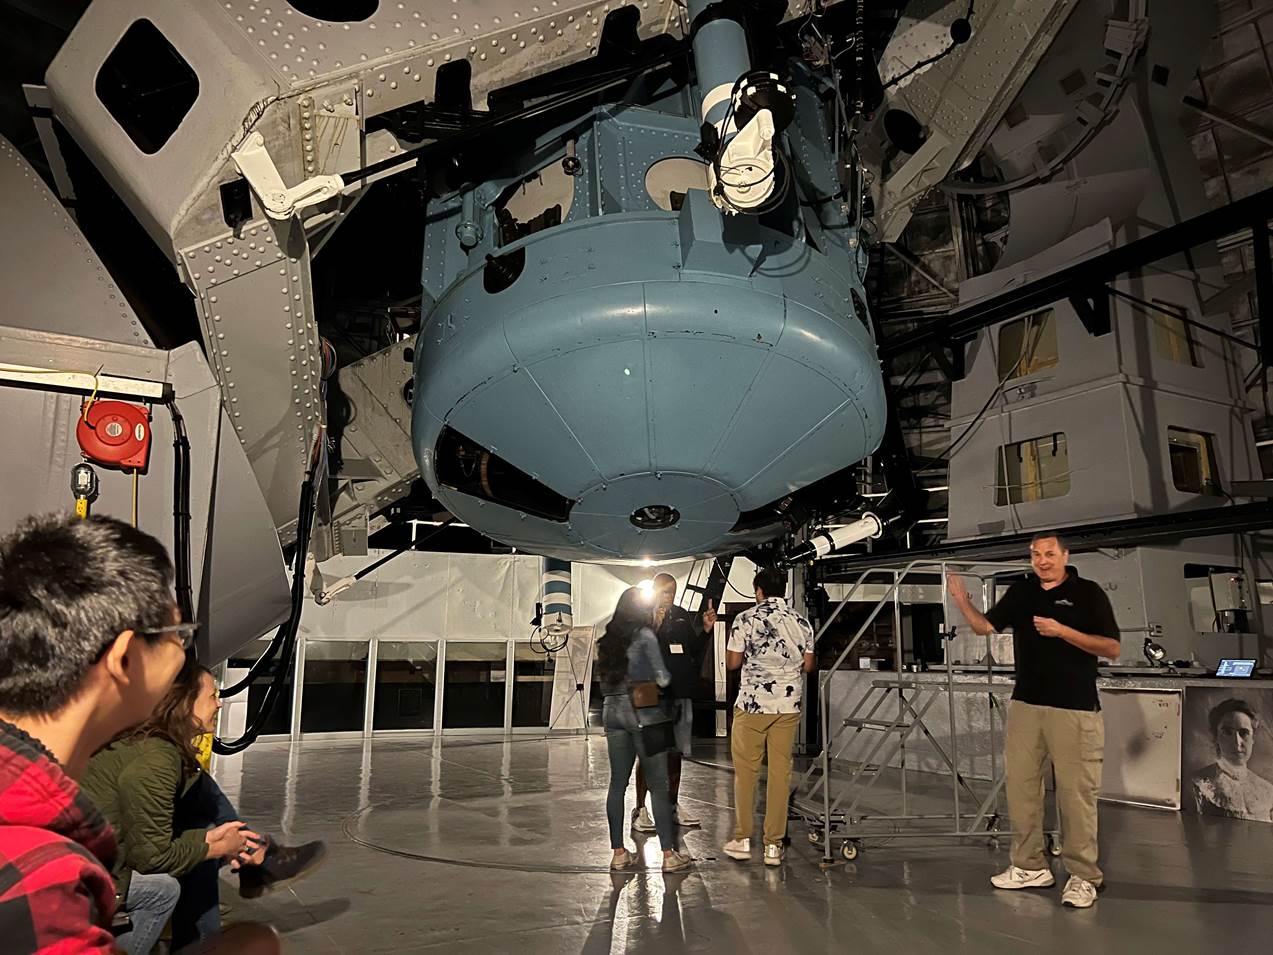
Observing begins!
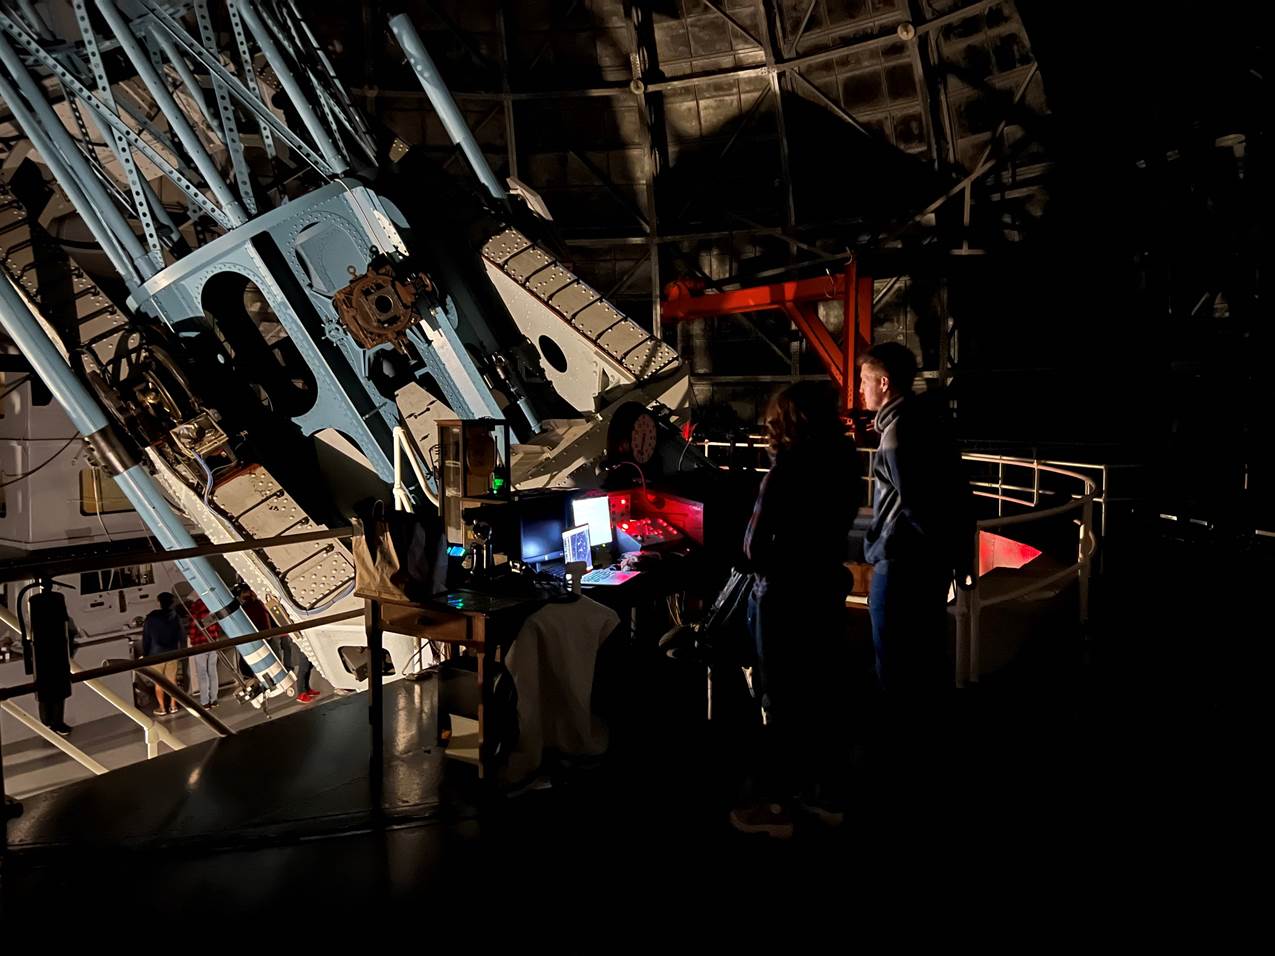
Control desk on the mezzanine level.
Viewing Session
We parked
around the vast dome for the 100”. The dome slit high above was
enticingly open to the dusk sky.
Inside, we
climbed up to the observing floor via two long flights of industrial-looking
grey stairs, past the massive concrete structure of the pier. The steps lead
upwards from a basement that holds the small room they use for re-aluminising
the 100” mirror and past a landing with an alcove holding the original,
early 20th century telephone receiver. To the left off this landing
is the warm room: it’s open for the whole session with free drinks (bring
your own snacks).
The stairway
takes a sharp right then curves to the door onto the observing floor beneath
the 100”. The lattice tube and its mount make a big first impression. The
cream-painted yoke mount is massive, whilst the light blue lattice tube towers
into the gloom of the steel dome rafters a hundred feet above. The observing
floor is a big open area with plenty of space, unlike many observatories.
Here there
is no moving observing floor, but the eyepiece position is convenient and only
ever requires a short stepladder climb.
As usual
with these public sessions, you wait your turn to look at each object, the
session crew interpreting and talking about the scope meanwhile. You can pop
out for a coffee or the toilet anytime.
Surprisingly
for such a big scope, the mount and dome move fast - setting the 100” on
each new object doesn’t take too long.
Dome
Tour
Before and
during the session, they give you an optional tour of the telescope and dome in
small groups.
At base
level, you get to see the mirror glass and the workings of the mount, including
beads of mercury from the float-baths that help support the bearings: safely
seen through a window, but periodically replenished by hand, wearing hazmat
suits, apparently!
The annular
floor that hosts the control desk is a storey above the observing floor and
rotates with the dome. Climbing a set of steps up to it, you see
‘Hubble’s Chair’ – a rickety old dining chair set on a
high platform – from where you viewed before the reducer system was
installed.
The
Edwardian teak control desk is situated near the low end of the RA yoke
mounting. The original clock and steam-punk brass controls are still there,
including two brass eyepieces for the viewing the setting circles. But control
is now by computer.
Whilst up
there, they demonstrate how the dome and annular floor rotate so smoothly it
feels like the telescope that’s moving.
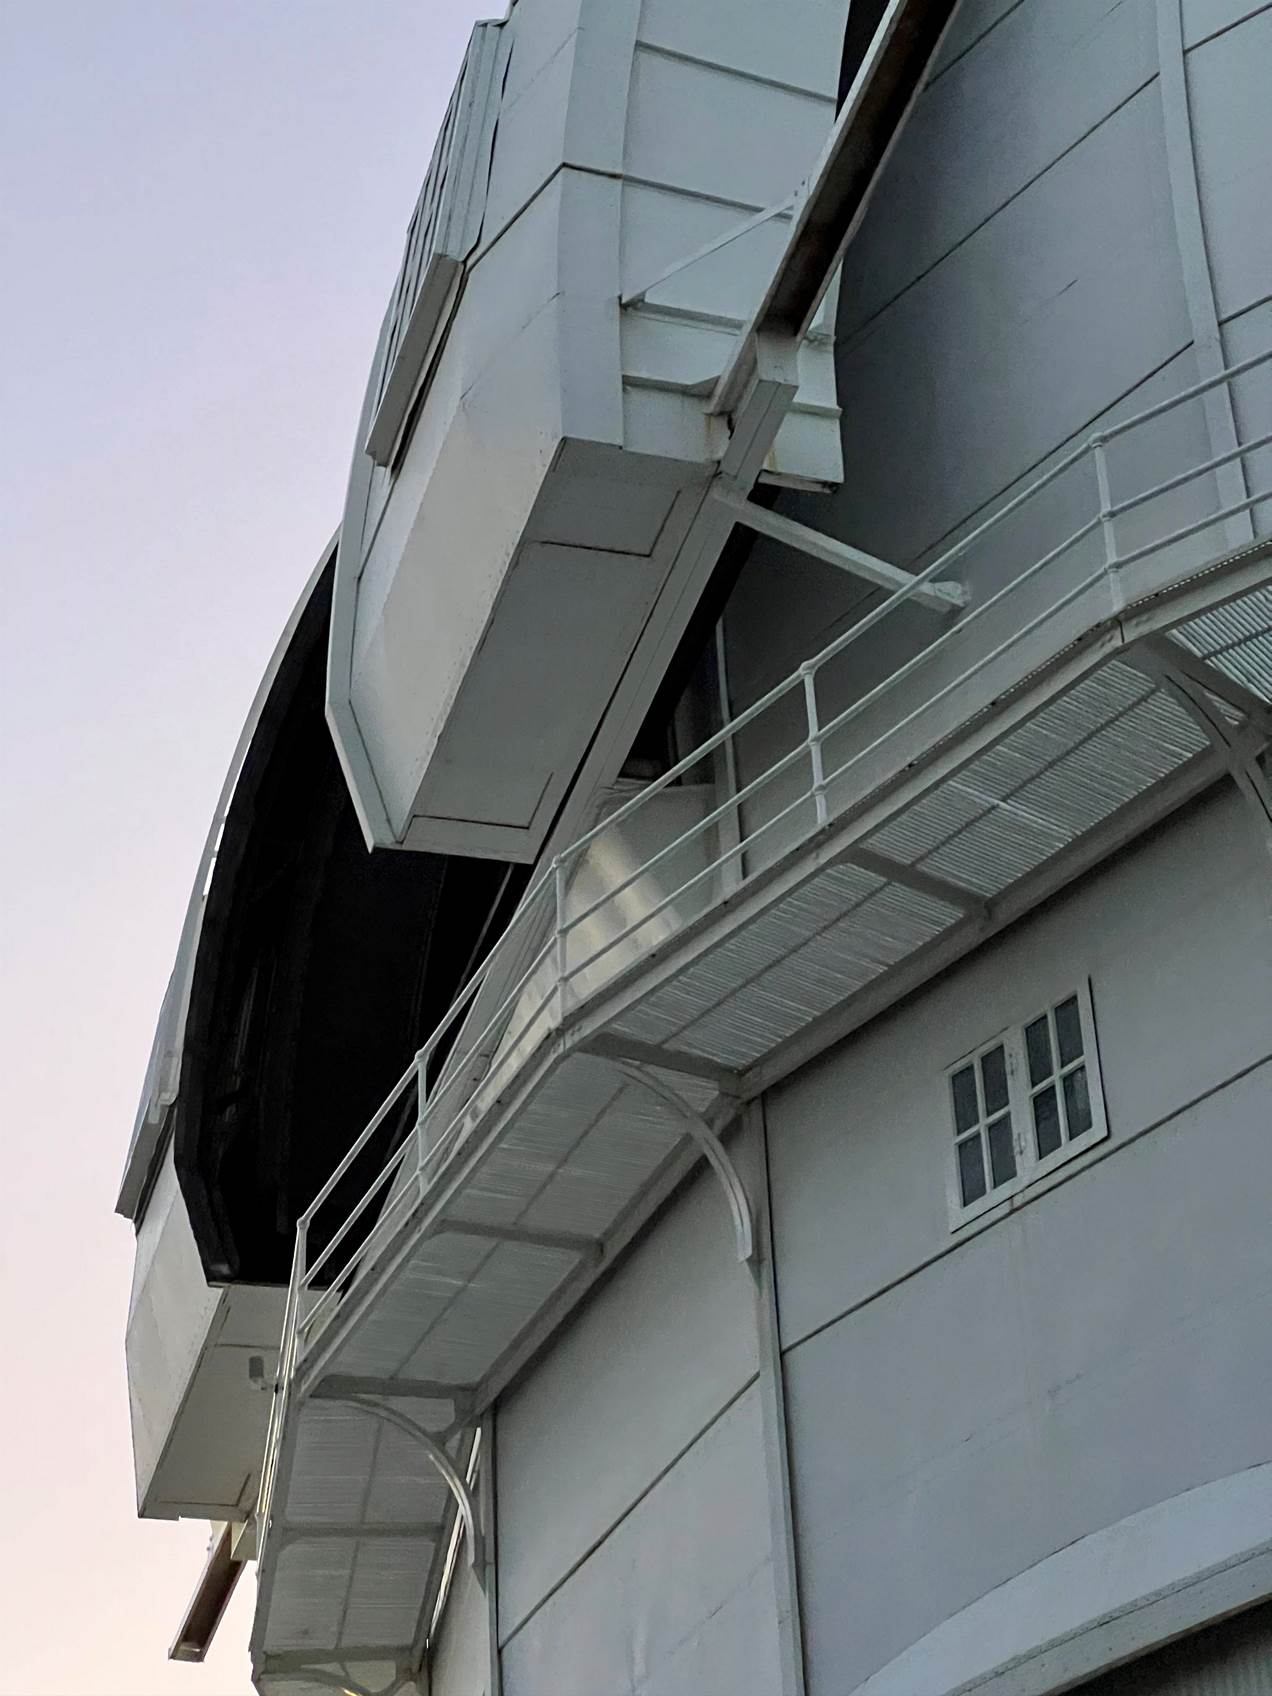
As part of
this mini-tour in between sessions at the eyepiece, they lead you out onto a
lattice-work metal gantry, high on the side of the 100” building, with a
view out over the treetops and across to the solar tower.
Session
End
The session
ended very late with a post-midnight drive back along the narrow roads of the
observatory, through the tall gates and down the Angeles Crest Highway.
Night views
of the Pasadena lights are stunning, but be aware that you might encounter cars
racing or other hazards. For example, I rounded a blind hairpin to find a car
parked mid-bend.
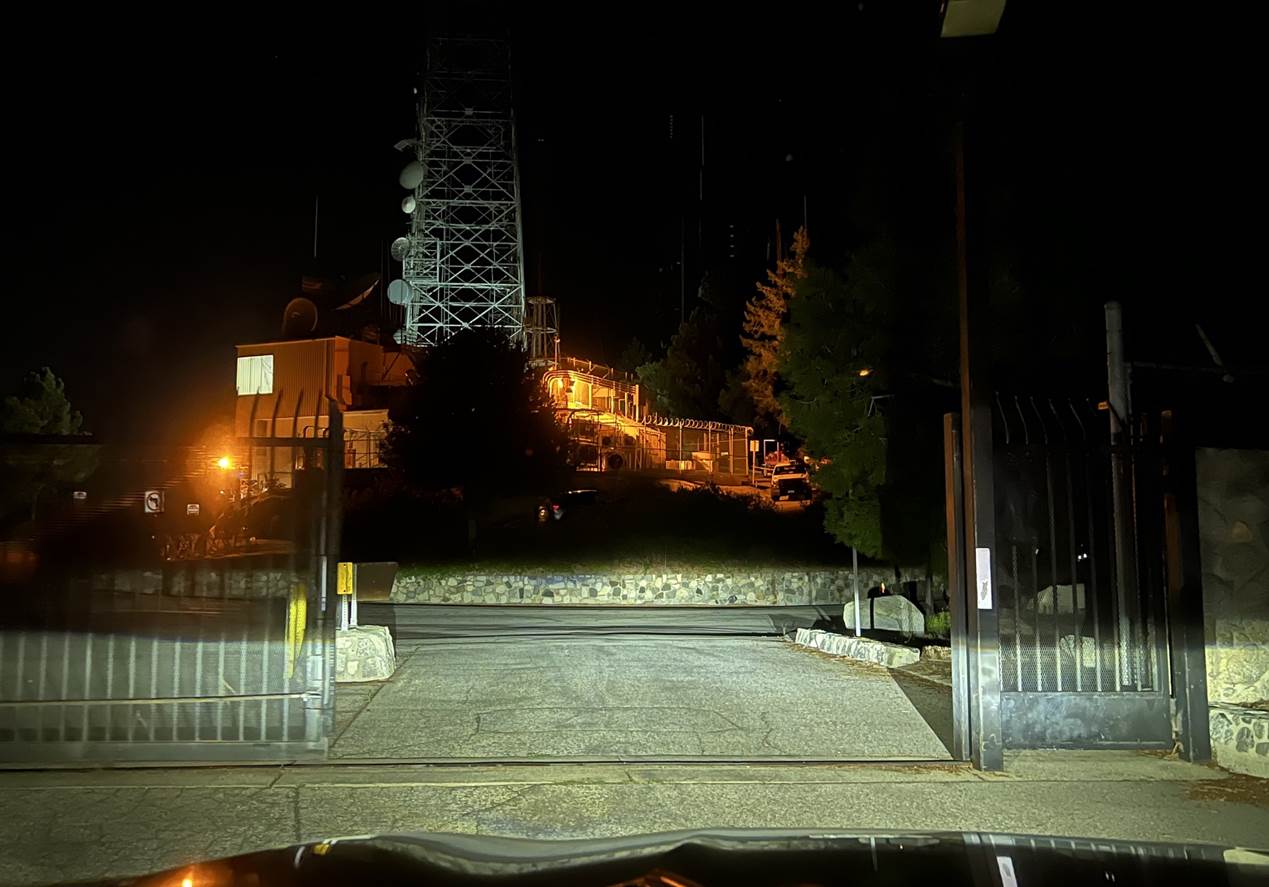
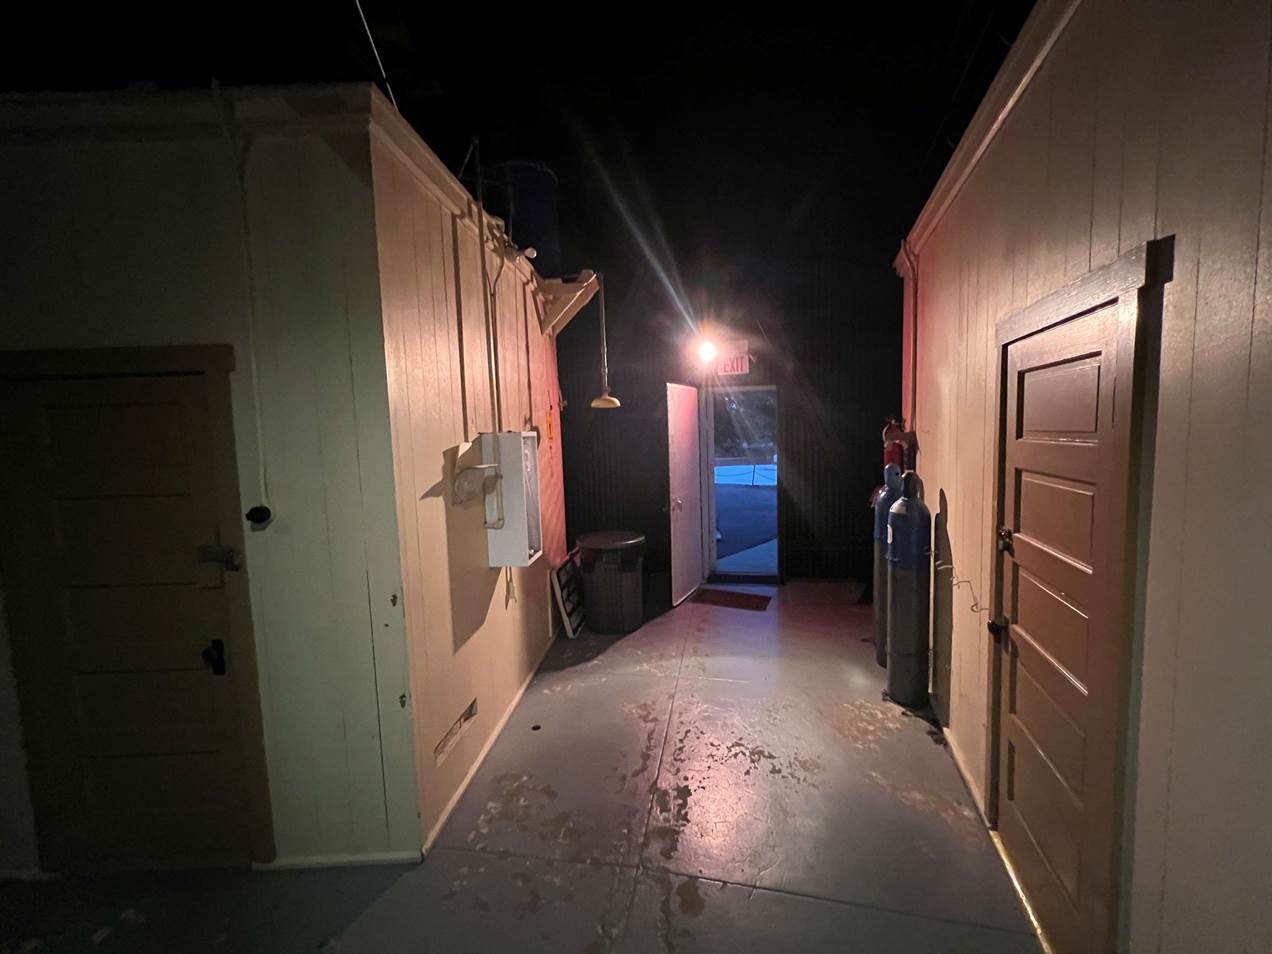
Leaving
through the gates at the end of the evening.
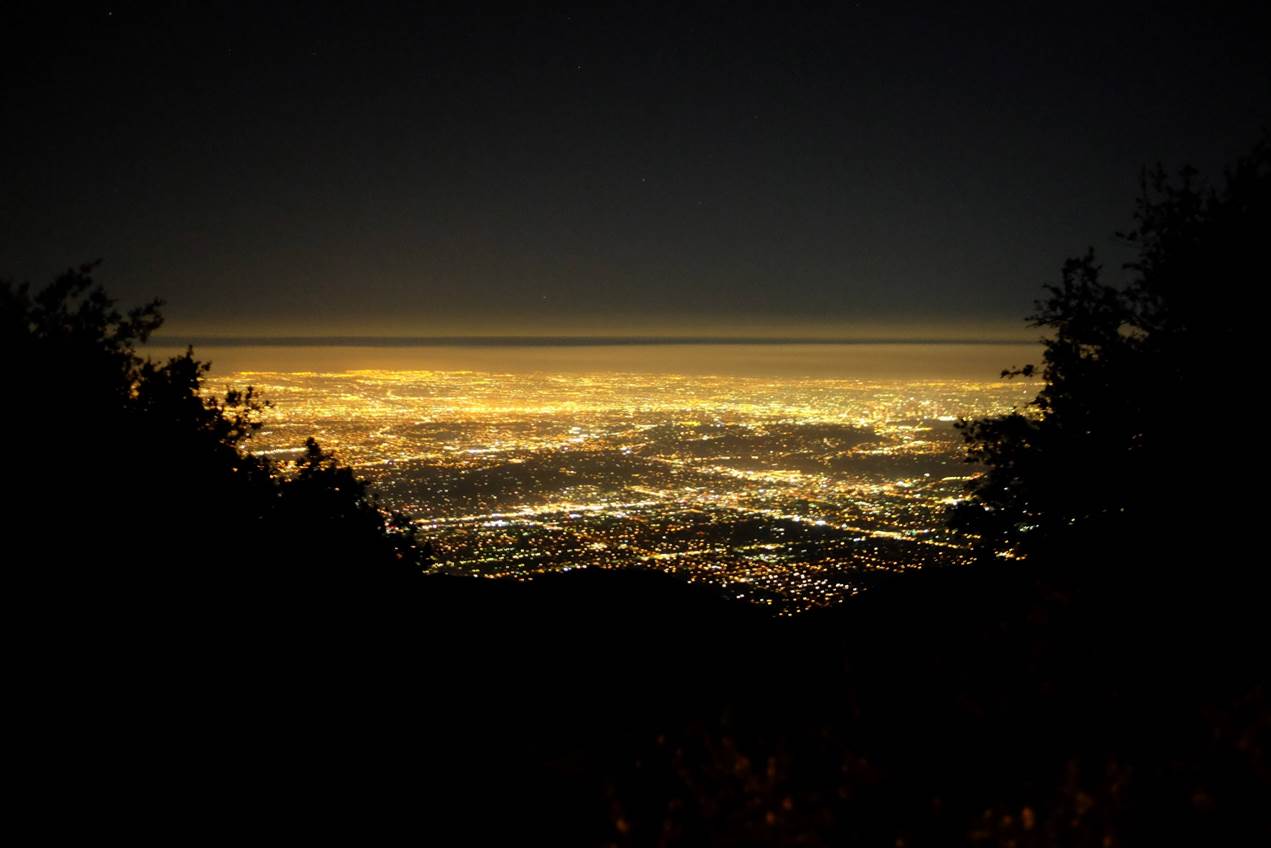
Pasadena
lights from the Mt Wilson Rd after the session.
Summary
The
100” viewing night was a great experience and super value for money.
Viewing through such a large instrument is fascinating and I would highly
recommend it. However, if I am honest, I didn’t find it as rewarding as
the half night I spent on the 60”. The reasons are complex.
Mostly the
problem was seeing, which was mediocre compared to the outstanding seeing I was
lucky to experience with the 60”. Unfortunately, on nights with no cloud
deck below the observatory, light pollution from LA does interfere with deep
sky objects – more than I had expected.
But I do
think that they could spend less time on single stars, which just don’t
look much different from an ordinary telescope. Then again, a night with a
crescent or first-quarter Moon would be very interesting as well – the
extra light in the sky wouldn’t add that much to the existing sky glow
for a mix of lunar and deep sky viewing.
I would love
to re-visit the 100” when there are some planets to view and hope for
better seeing too.
A public viewing night on the Mount
Wilson 100” is a great experience, but I would have liked to view a
planet and/or the Moon too.
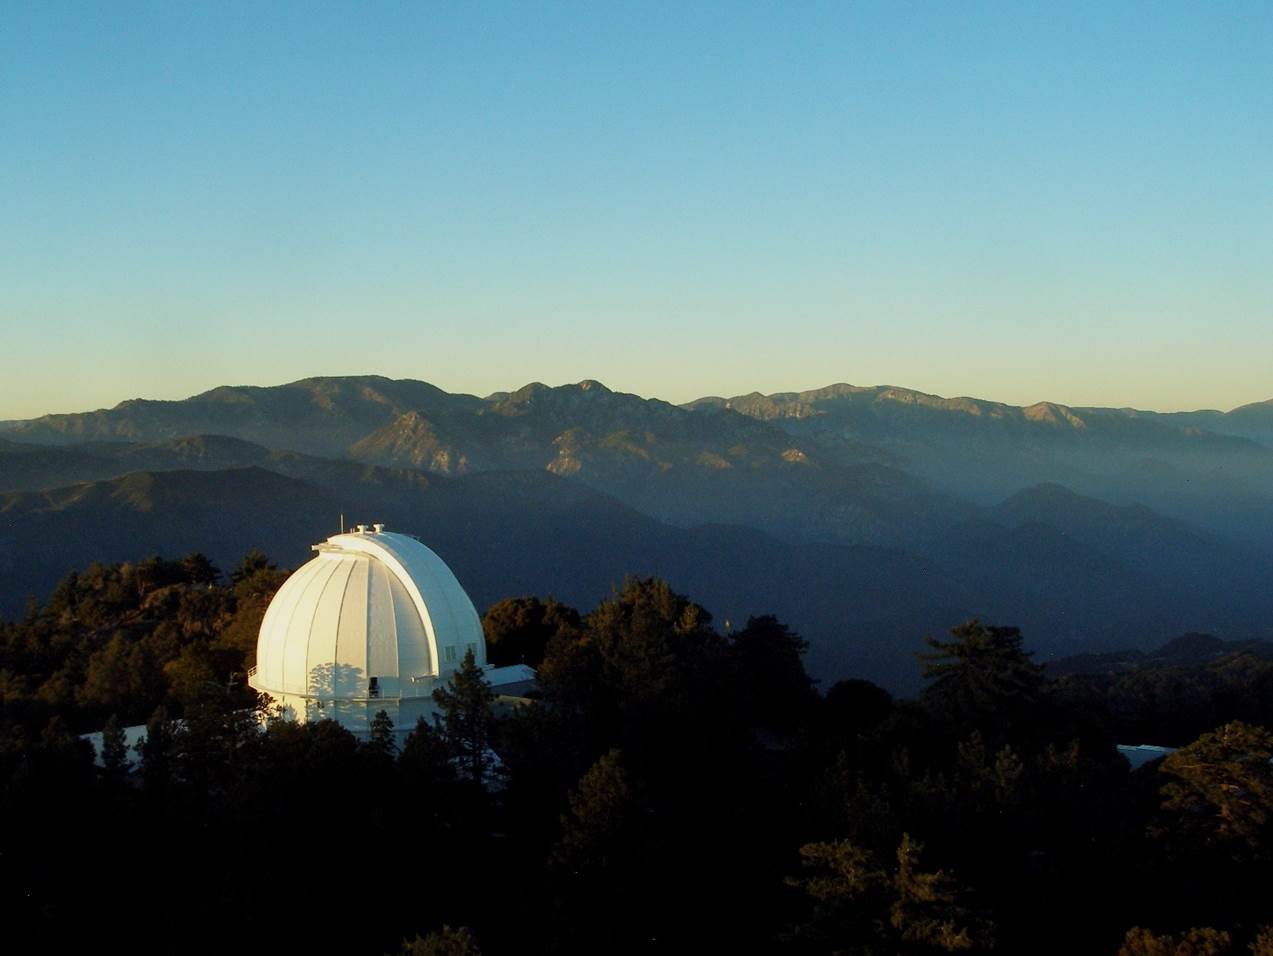
Me on the dome gantry from the solar tower webcam!