How to Clean
a Refractor Objective Lens
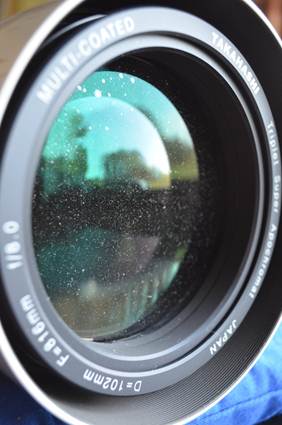
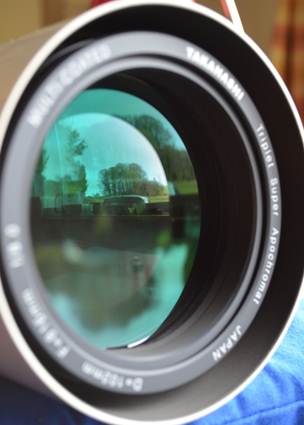
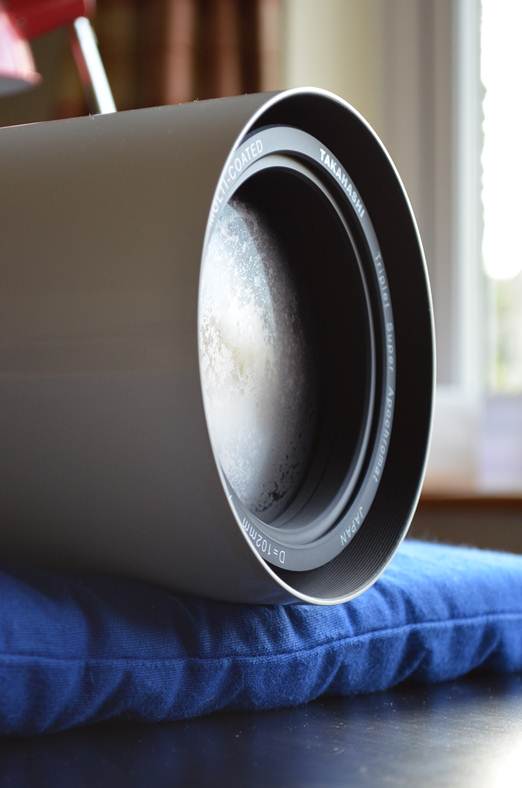
Before: Six
years’ worth of dew spots and dust on a TSA102 Objective. After: like new.
If you’re
thinking about cleaning your objective, the general advice would be ‘don’t’!
Your lens can get a lot of crud on it before it degrades the view. However,
there might be times when you do need or want to clean it: if it’s very dirty, or if you suspect harmful contaminants - mould or sap
for example - that could degrade the coatings (or even etch the glass).
I recently
bought a TSA102 that was in pristine condition after six years (a real credit
to its owner), but the lens had never been cleaned and it showed. There was no
effect whatever on the image, but I couldn’t know if the dirt was just dust and
dew-spots or whether something more harmful like sap-spots lurked. I decided to
clean it – something I have done on a number of occasions before with other
scopes – and share my method. The technique I use is derived from various sources,
but particularly from Roland Christen.
A Note on ED
Glass and Fluorite
Fluorite is
soft and so are many ED glasses. In a triplet they tend to be sandwiched away
in the middle of two harder elements, but Fraunhofer
ED and fluorite (the Takahashi FS series) doublets have the ED element at the
front (though other fluorite doublets have it at the rear). I have successfully
used this procedure on an FS objective that was very dirty,
however I have seen an FS-128 ruined by rough cleaning (no, not by me)!
Take extra care with a Fluorite or ED
front-surface doublet; ask yourself if cleaning is really necessary.
As usual, the disclaimer that you follow these instructions at your own
risk (but it’s a procedure that is virtually risk-free if you do it carefully
with new cloths).
Consumables
You will
need the following:
·
Lint
free optical wipes – plenty of them.
·
A
good water-free cleaning fluid. I highly recommend Baader
Optical Wonder.
·
A
new, unopened, quality micro-fibre lens cloth.
·
A
lens brush.
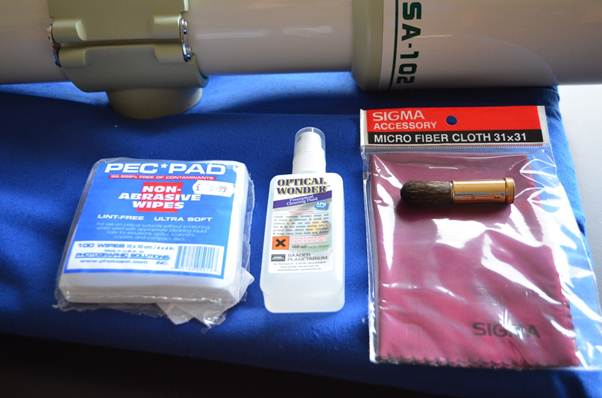
I recommend
buying good quality, branded stuff. I always use a brand new micro-fibre cloth,
just to be sure. How much is that lens worth?
Preparation
1. Clean the environment thoroughly and
vacuum to lower dust levels. Let the dust settle again before starting work. Wearing
an overall might be a good idea (though I confess I didn’t).
2. Set-up the OTA somewhere clean, free
of clutter and supported so it doesn’t roll around.
3. Ensure you have good, relaxed access
to the lens.
4. Last thing, wash your hands
thoroughly and dry them on something low-lint (I used kitchen roll).
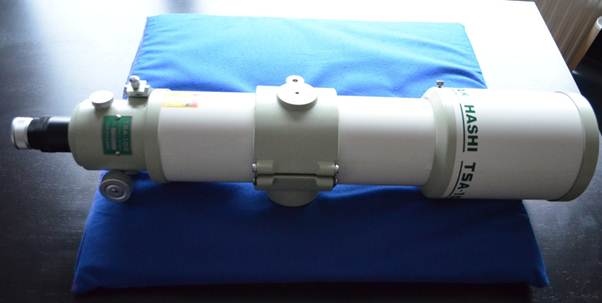
2&3: Support
the OTA with easy access to the lens
Cleaning
Step 1: Brush off the dust
Before you
actually clean the lens, get as much dust as you can off to minimise risk of
scratching. Do this by gently sweeping the dust off with a lens brush. I also
use a vacuum held nearby (about ten centimetres) to suck away the dust I brush
off, but make sure not to touch the lens with it!
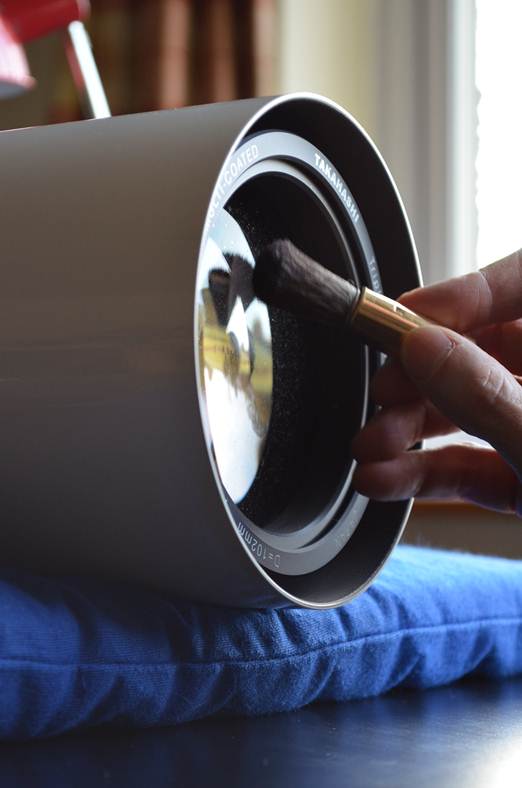
Brush the
dust off before cleaning.
Step 2: Clean the surface
1. Double-up an optical wipe and spray a
little cleaning fluid on it. Don’t spray the lens!
2. Gently clean a very
small area with a wipe-dab action – don’t rub – then discard the wipe.
3. Repeat over the surface of the lens.
I used about six wipes for a 4” objective.
4. Let the fluid almost dry.
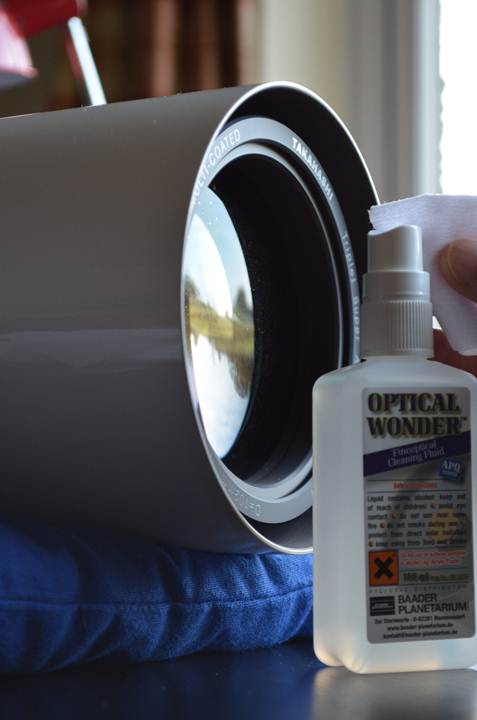
1: Spray the
optical wipe, not the lens.
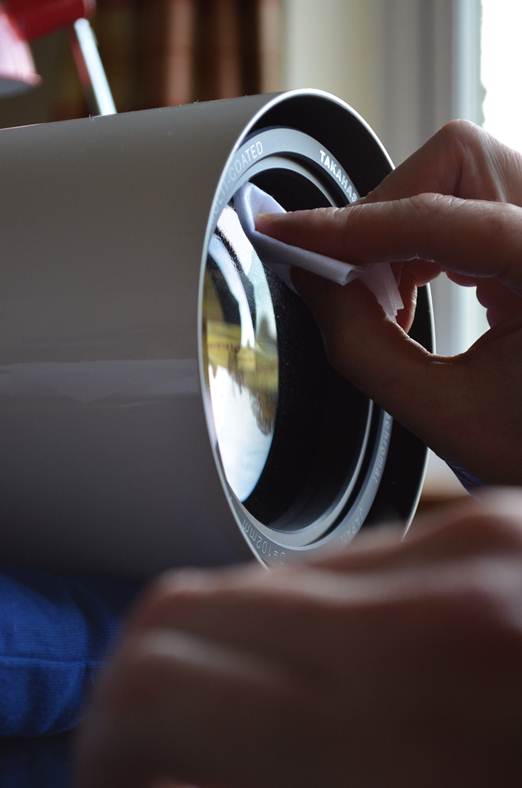
2: Gently
dab-wipe to clean.
3 & 4: Use
plenty of wipes, then let the fluid almost
dry off.
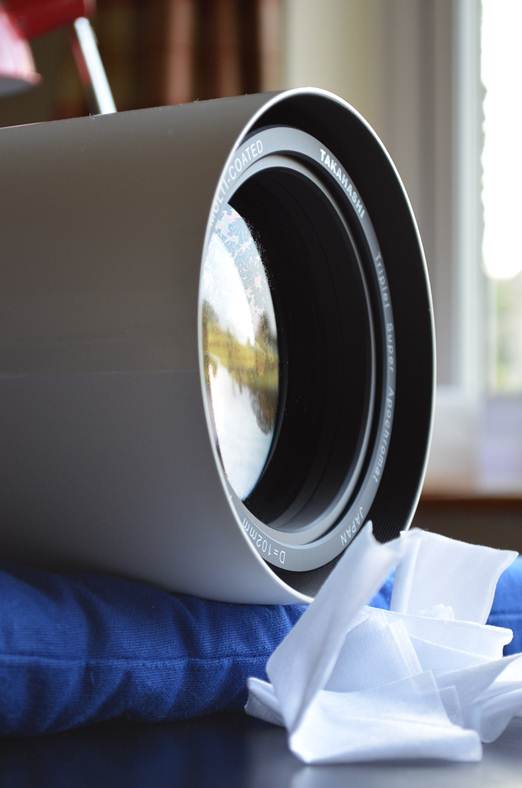
Step 3: Final buff-up
1. Gently mist the surface with your
breath (don’t spit on it!).
2. Unwrap that new, quality micro-fibre lens
cloth.
3. Carefully, with small, gentle strokes
and light pressure, buff off the mist to leave a shiny
lens.
1: Mist the
surface with your breath.

2 & 3: Gently
buff with freshly unwrapped lens cloth.

Spotless!!
Stubborn Spots
On this
lens, the basic procedure, with the gentlest intervention, cleaned the lens
perfectly. If you have remaining spots one method you can use (recommended by
Roland) is to rub the spot gently with a dab of saliva on a clean fingertip.
This may sound dubious, but the enzymes in saliva help to break down organic residues
and your skin is a very soft cleanser (if it’s clean). You should then leave it
a minute or two for the enzymes to act before cleaning and buffing.
And Finally …
Examination
from the focuser end with an oblique light source revealed a small smear which
is invisible from the front – I’m not bothering with it. There was absolutely no
trace of scratching, but this isn’t a procedure I recommend you should do more
than a few times in the life of a scope.